
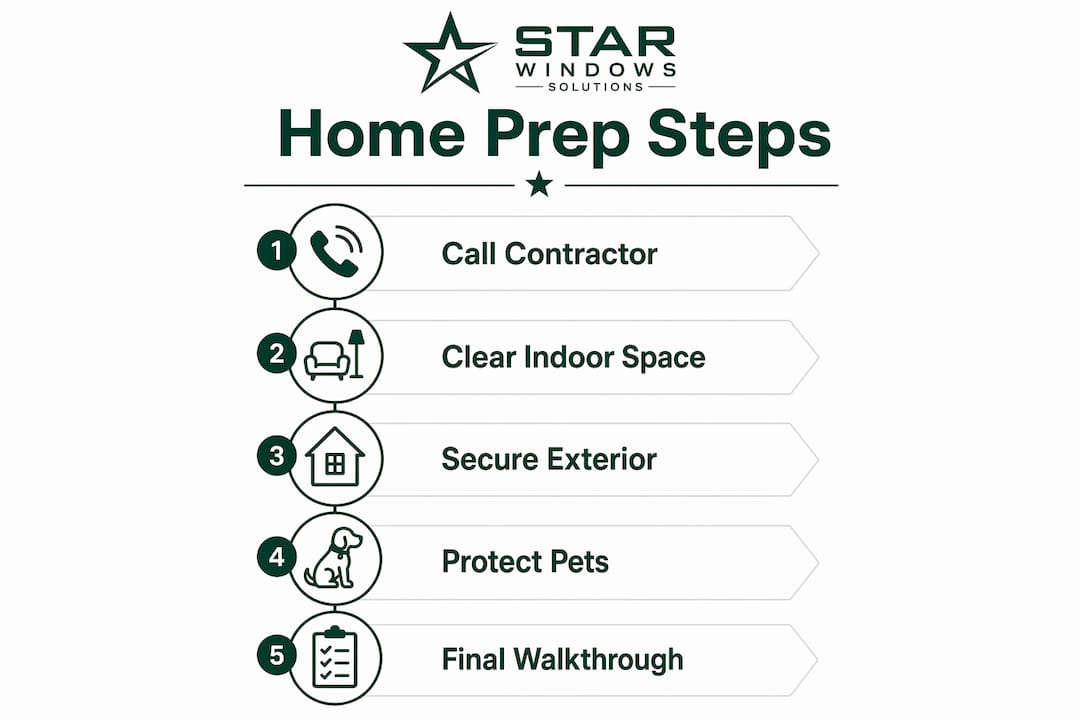
To prepare your home for window installation, clear a minimum clearance around every window inside and out, remove all treatments and screens, stage a flat unloading area in the driveway, secure pets and children in a separate room, and turn off the HVAC before rip-out begins. Do those five things and installation day runs significantly smoother.
Morning-of checklist:
- Clear at least a 3-foot radius around every window, both inside and outside; aim for 4–5 feet outside if ladders or scaffolding will be set up
- Remove curtains, blinds, shades, curtain rods, and screens; label all hardware
- Reserve a flat driveway spot for materials and truck access
- Secure pets and children in a room away from the work zone
- Turn off the HVAC system before the crew starts removing old windows
- Keep all product labels and paperwork for warranty verification
Table of Contents
- How does your installation type change what you need to do?
- What indoor prep do you need to do before the crew arrives?
- How do you prep the exterior before installation day?
- What should you expect on installation day?
- How do you keep pets, children, and your security system safe?
- What are the industry best practices that actually affect install quality?
- What final checks and questions should you ask before work starts?
- Should you notify your neighbors before installation day?
- What utilities and exterior equipment need to be secured near windows?
- Key Takeaways
- Why homeowner prep matters more than most people realize
- Star-ws takes the guesswork out of installation day in Kansas City
- Useful sources for deeper guidance
How does your installation type change what you need to do?
Not all window jobs require the same prep. The three common types are pocket (insert/replacement-in-place), full-frame replacement, and new-construction rough-opening installs, and each shifts the homeowner’s workload a little differently.
- Pocket/insert replacement: The existing frame stays. Interior clearance and treatment removal are the main tasks. Exterior staging is minimal.
- Full-frame replacement: The entire frame comes out. Expect more exterior disruption, a larger staging footprint, and a higher chance of temporary coverings overnight if the job spans two days.
- New-construction/rough-opening: Usually part of a larger remodel. Coordination with other trades (framing, drywall, painting) is often needed, and the timeline is less predictable.
Pro Tip: Call your contractor the day before and ask one direct question: “What installation method are you using?” The answer tells you whether to prep for a quick swap or a full-frame tear-out.
What indoor prep do you need to do before the crew arrives?
Thorough site preparation affects air-barrier continuity and sealant performance, not just crew convenience. Here is what to handle room by room.
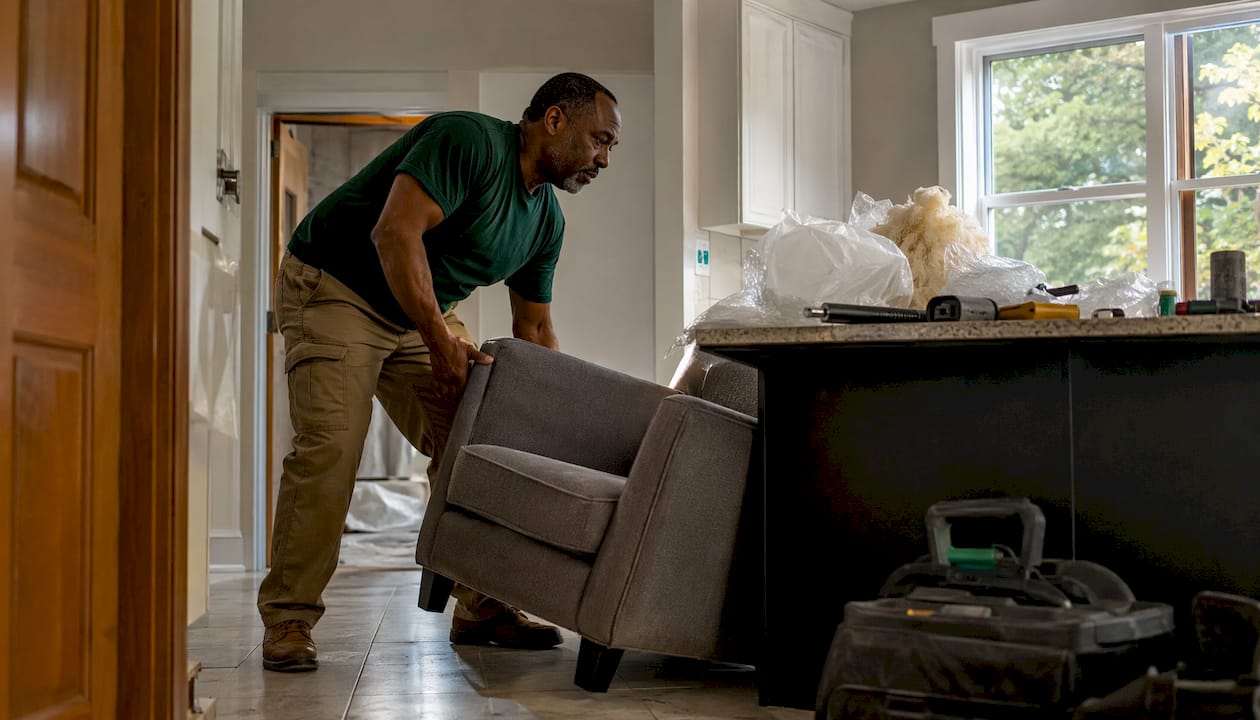
- Clear at least 3 feet around each window on both the interior and exterior. For the outside, 4–5 feet of clearance is recommended, especially where ladders or scaffolding will be required, so installers have room to maneuver safely.
- Remove all window treatments. Take down curtains, blinds, shades, plantation shutters, and curtain rods. Label every piece of hardware so reinstallation is straightforward.
- Relocate fragile items. Clear window sills, nearby shelves, and any wall art within vibration range. Move electronics away from the work zone and unplug them.
- Protect floors and furniture. Professional crews typically bring drop cloths and floor protection for the immediate work zone. You do not need to plastic-wrap every room — focus on clearing access and moving high-value items.
- Turn off the HVAC. During rip-out, an active system pulls construction dust straight into the return vents and circulates fine particulates through the house. Shut it down until each opening is sealed.
- Save labels and paperwork. Manufacturer labels on the window units are your warranty documentation. Keep them.
Pro Tip: Heavy furniture you cannot move alone? Tell the crew lead at the morning walkthrough. Most professional installers will shift large pieces rather than work around them awkwardly.
How do you prep the exterior before installation day?
Outside prep is where homeowners most often underestimate the work. Installers need 4–5 feet of clear exterior perimeter wherever ladders or scaffolding will sit, not just a narrow path to the window.
- Move patio furniture, grills, potted plants, and outdoor toys at least 5 feet from the house
- Coil garden hoses and store them out of foot-traffic paths
- Mark irrigation heads and fragile garden beds so the crew can place ladders without guessing
- Trim back shrubs that press against the siding — branches that snag a ladder are a safety hazard
- Reserve a flat section of the driveway for the delivery truck and material staging; the crew needs level ground to inspect crates on arrival before signing off
- Unlock gates and any exterior access points the crew will need; place a visible path if the route to a side or rear window is not obvious
For second-story work, confirm with your contractor whether scaffolding is required. If so, protect any delicate plantings directly below with plywood or burlap before the crew arrives. Protecting your exterior siding and trim during this phase prevents cosmetic damage that is annoying to fix after the fact.
Clearance standard: The industry minimum is a 3-foot clearance radius around every window, both indoors and out; for exterior work, plan on 4–5 feet of clearance wherever ladders or scaffolding will be needed.
What should you expect on installation day?
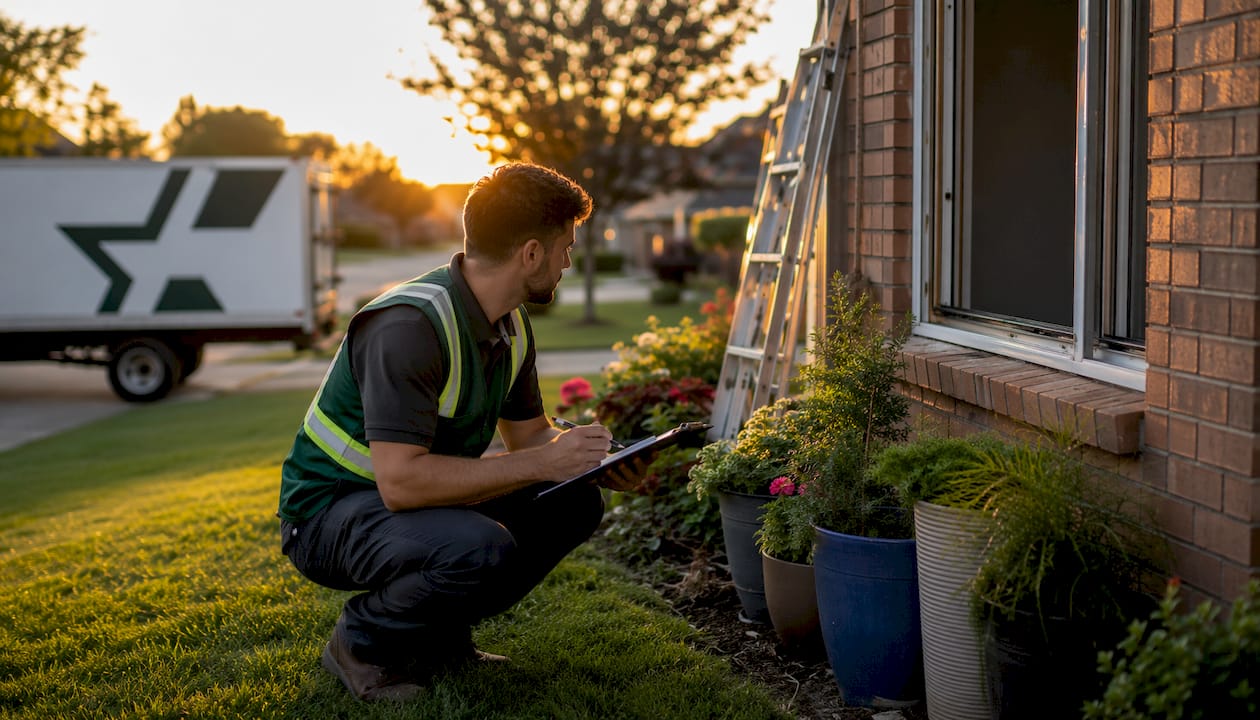
A typical installation day follows a predictable sequence once you know what to look for.
Morning arrival (first 30–60 minutes):
- Crew arrives and does a walkthrough with you — confirm scope, starting point, and any special requests
- Materials are unloaded and inspected at the staging area; confirm product condition before work begins
- Floor protection goes down in the first work zone
- HVAC goes off
During the job:
- A single standard window typically takes 1–3 hours from rip-out to trim; a full-house replacement can run one to two full days
- Rip-out is the loudest and dustiest phase — plan for significant noise during that window
- Only a few openings are exposed at once; the crew seals each before moving to the next
- If the job runs overnight, ask about temporary coverings and how openings will be secured
End of day:
- Installers perform a final walkthrough with you to confirm fit, operation, and finish before they leave
- Old windows and debris are removed; confirm the disposal plan in advance
- Turn the HVAC back on once all openings are sealed and caulk is applied
How do you keep pets, children, and your security system safe?
Installation day is loud, the front door opens constantly, and tools are everywhere. A dog or toddler in that environment is a real safety problem, not just an inconvenience.
- Arrange for pets to stay off-site or in a closed room completely separated from the work zone for the full day
- Keep children in a room with a responsible adult, away from any window being replaced
- Use baby gates to block hallways leading to active work areas
- Store pet waste and food bowls before the crew arrives — a clean path matters
- Disable window security sensors before installation begins; contact your alarm company in advance to decommission them. Installers will not reconnect alarm systems — that requires a licensed alarm technician
- Schedule your alarm company to return within a day or two after installation to reattach and test sensors once caulk has cured
What are the industry best practices that actually affect install quality?
Good prep is not just about convenience. Cluttered work areas increase the risk of compromising the air barrier, and a compromised air barrier means drafts, moisture intrusion, and failed seals within a few years.
| Best Practice | Why It Matters |
|---|---|
| 3-ft interior and exterior clearance (minimum) | Allows precise shimming and leveling without obstacles |
| 4–5 ft exterior clearance (recommended) | Provides safe ladder footing and prevents accidental damage to landscaping |
| HVAC off during rip-out | Stops dust from entering return vents and contaminating sealant surfaces |
| Flat driveway staging area | Enables product inspection before installation begins |
| Save manufacturer labels | Required for warranty claims and product identification |
Sealant adhesion is particularly sensitive to dust contamination. When the HVAC runs during rip-out, fine particulates settle on the rough opening surfaces before caulk is applied, reducing adhesion and long-term weather resistance. Turning it off costs nothing and protects a multi-thousand-dollar investment.
Pro Tip: Ask the crew lead to walk you through the manufacturer install guidelines for your specific window brand. A reputable installer follows them; one who cannot name them is a red flag.
What final checks and questions should you ask before work starts?
Run through this list the morning of installation, before the crew touches anything.
Final checks:
- All window treatments removed and hardware labeled
- 3-foot interior clearance confirmed at every window
- Driveway staging area reserved and flat
- HVAC switched off
- Security sensors deactivated
- Fragile items and electronics relocated
- Gates unlocked and exterior path clear
Questions to ask the lead installer:
- What is the exact scope today, and how many windows are on the schedule?
- How many installers are on the crew?
- What is the estimated time per opening?
- If the job runs past today, how will open windows be secured overnight?
- What is the waste removal plan for old windows and packaging?
- Will you do a final walkthrough with me before you leave?
- Are you licensed and insured, and do you follow the manufacturer’s installation guidelines?
Use a vendor checklist to verify credentials before the job starts, not after. A licensed, insured installer who follows manufacturer guidelines is the baseline, not a bonus.
Should you notify your neighbors before installation day?
Yes, briefly. Window replacement involves power tools, ladders against the exterior, and a truck parked near the street for most of the day. A quick heads-up to immediate neighbors the day before prevents friction and keeps relationships intact.
Tell them what day the work is happening, roughly how long it will run, and that there will be some noise during the morning rip-out phase. If your driveway staging area extends near a shared property line, mention that too. Thirty seconds of conversation prevents a day of tension.
What utilities and exterior equipment need to be secured near windows?
Before the crew arrives, walk the exterior perimeter and look for anything that could be damaged or create a hazard during installation.
- Gas meters and electrical panels: If a window sits within a few feet of either, point it out to the crew lead at the morning walkthrough. They may need to adjust their approach.
- AC condenser units: Move any portable units; for fixed condensers, confirm the crew has enough clearance to work without stepping on refrigerant lines.
- Exterior lighting and cameras: Fixtures mounted directly above or beside a window may need to be temporarily removed or repositioned.
- Hose bibs and outdoor outlets: Flag these so ladders are not placed directly over them.
- Satellite dishes and cable lines: If a line runs across the wall near a window, identify it before work starts to avoid accidental cuts.
A quick exterior walkthrough with your contractor during the pre-job call catches most of these issues before they become mid-job surprises.
Key Takeaways
Proper home preparation for window installation protects your belongings, preserves sealant performance, and gives installers the access they need to do precise, warranty-valid work.
| Point | Details |
|---|---|
| Clear 3 ft minimum | Maintain at least 3 feet of clearance around every window, both inside and outside; for exterior access, 4–5 feet is recommended for safe ladder or scaffolding positioning. |
| Remove all treatments | Take down curtains, blinds, rods, and screens before the crew arrives; label hardware for reinstallation. |
| Stage the driveway | Reserve a flat, accessible spot for the delivery truck and material inspection before work begins. |
| Turn off the HVAC | Shut down the system during rip-out to prevent dust from entering return vents and compromising sealant adhesion. |
| Star-ws handles the rest | Star-ws manages product inspection, floor protection, cleanup, and the final walkthrough on installation day. |
Why homeowner prep matters more than most people realize
Most homeowners treat prep as a courtesy to the crew. It is not. It is a direct input into installation quality.
Sealant adhesion, shim precision, and air-barrier continuity all depend on a controlled work environment. A cluttered room forces installers to work at awkward angles. Dust from an active HVAC contaminates surfaces before caulk is applied. A missing staging area means windows get leaned against a wall or left in a truck longer than they should be, increasing the risk of damage before installation even starts.
The final walkthrough is the other piece most homeowners skip or rush. Being present when the installer tests each window, checks the operation, and confirms the finish is the only moment you have to catch a problem before the crew leaves. A window that binds slightly or has a gap in the caulk line is a five-minute fix on the day. Six months later, it is a warranty call and a scheduling headache.
Prep is not about making the crew comfortable. It is about protecting a significant home investment from the moment the first window comes out.
Star-ws takes the guesswork out of installation day in Kansas City
Window replacement done right means more than just swapping glass. Star-ws handles the full process for Kansas City homeowners: product inspection on arrival, floor and surface protection, precise installation following manufacturer guidelines, debris removal, and a final walkthrough before the crew leaves. You get energy-efficient window services with free estimates and financing options, so the cost conversation happens before any work begins, not after.

If installers find rot or damage during rip-out, Star-ws handles window frame rot repair on the spot rather than leaving you to coordinate a second contractor. One crew, one job, one walkthrough at the end. Schedule your free estimate at star-ws.com and get a clear picture of what installation day will look like for your home.
Useful sources for deeper guidance
These resources back the guidance in this article and are worth bookmarking if you want to go further.
- Pella: Window installation — what to expect — Manufacturer-level guidance on treatment removal, label preservation, and what a professional installation sequence looks like.
- Milgard install recommendations (Mounting Fin Windows) — Detailed manufacturer PDF covering rough-opening tolerances, shimming, flashing, and product inspection on arrival.
- Lowe’s: How to install replacement windows — Step-by-step technical walkthrough of the installation process, useful for understanding what the crew is doing at each stage.
- Hawkeye Windows: Window installation preparation — Contractor-perspective article on HVAC management, air-barrier continuity, and why site prep affects long-term performance.
- Star-ws: Window installation tool checklist for DIY homeowners — Practical supply and tool checklist for homeowners who want to understand what a professional crew brings versus what you may need to provide.
- Star-ws: Common window installation mistakes — Covers the most frequent homeowner errors during prep and how avoiding them protects both the installation and the warranty.