
The window screen replacement cycle is the expected period a screen stays functional before needing full replacement, typically spanning 7–25 years depending on material and climate. Fiberglass screens last 8–15 years in moderate climates, aluminum screens can exceed 20–25 years, and pet-resistant mesh falls in the 12–18 year range. Where you live and how you maintain your screens matters just as much as what they are made of. Homeowners in Kansas City deal with hot summers, cold winters, and spring storms that all accelerate wear. Knowing your replacement cycle helps you budget, plan, and avoid the slow energy loss that damaged screens cause.
What factors determine how often window screens need replacing?
Material choice is the single most important factor in how long a screen lasts. The three most common mesh types each behave differently under stress.
| Mesh Type | Moderate Climate Lifespan | Harsh Climate Lifespan | Best Use Case |
|---|---|---|---|
| Fiberglass | 8–15 years | 5–8 years | Budget-friendly, standard windows |
| Aluminum | 20–25 years | 12–18 years | High-UV or storm-prone areas |
| Pet-resistant | 12–18 years | 8–12 years | Homes with dogs or cats |
Aluminum mesh holds up better than fiberglass under direct sun exposure. Properly maintained aluminum screens consistently outlast lower-quality fiberglass frames, even in harsh conditions. That durability gap is significant when you are managing multiple windows across a property.
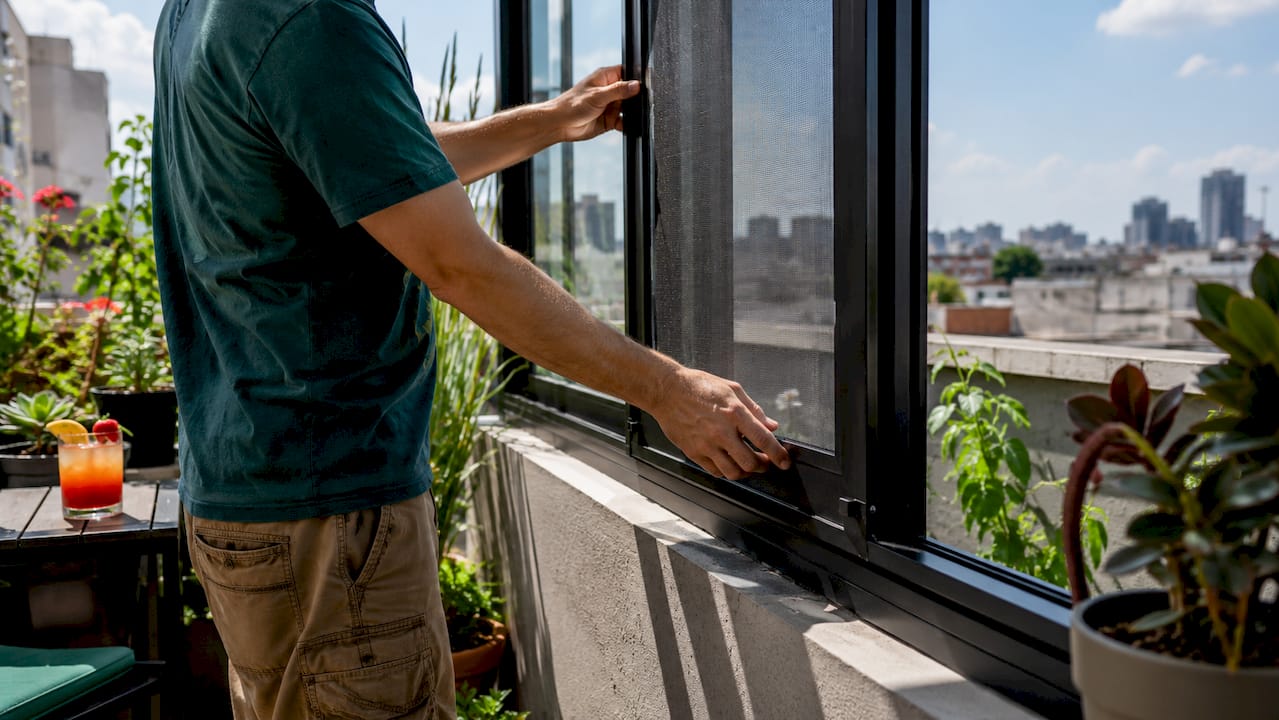
Environmental stress compounds material wear in predictable ways. Coastal air carries salt that corrodes aluminum frames. UV radiation breaks down fiberglass mesh faster than any other single factor. Frequent storms in the Midwest push debris against screens and stress the spline channel where the mesh locks into the frame. Homes with pets face a separate category of damage entirely.
Routine maintenance closes the gap between a screen that lasts 8 years and one that lasts 15. Cleaning mesh with mild soap and water twice a year removes the grit that acts like sandpaper on fiberglass threads. Seasonal inspections catch frame warping and loose spline before they become full failures. The maintenance investment is small compared to the cost of early replacement.
Pro Tip: Choose aluminum mesh for any south-facing or west-facing window in Kansas City. Those windows absorb the most UV and storm exposure, and aluminum’s longer lifespan easily justifies the modest price difference over fiberglass.
How can you tell when it’s time to replace rather than repair?
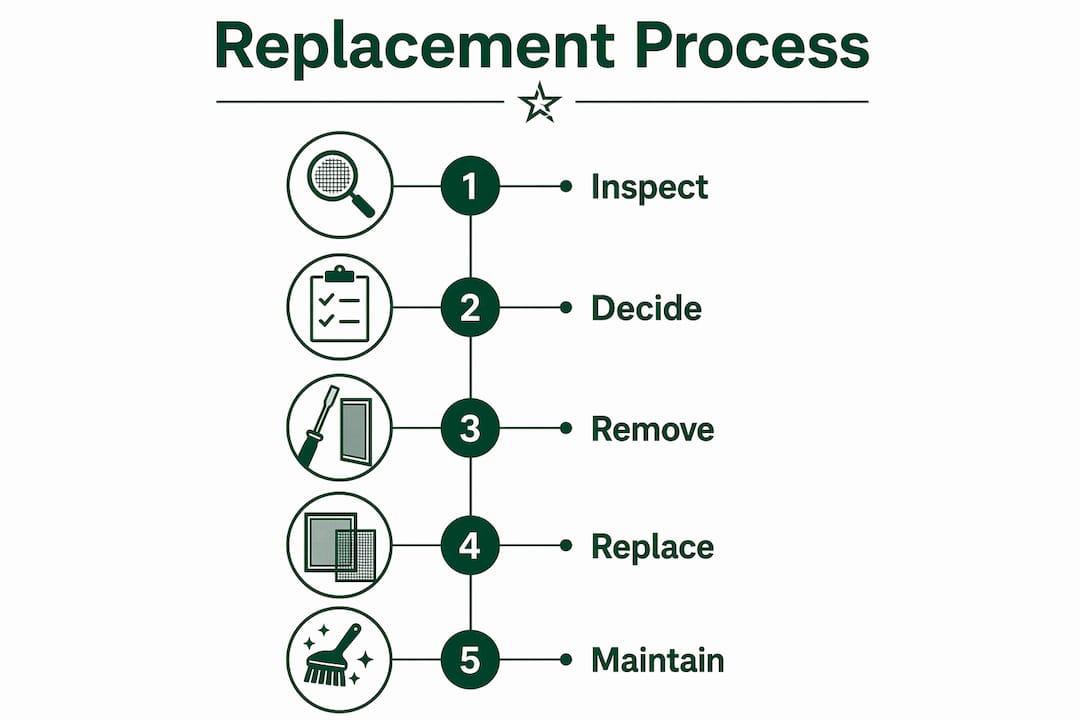
Repair makes sense for isolated damage on an otherwise sound screen. Replacement is the right call when the screen shows multiple failure points at once. Knowing the difference saves money and avoids repeat service calls.
Watch for these specific signs that a screen has reached the end of its cycle:
- Frame warping or bowing: A bent frame cannot hold mesh tension properly. Re-screening a warped frame produces a sagging result that fails again quickly.
- Mesh brittleness or crumbling: Fiberglass mesh that crumbles when touched has lost its structural integrity. No repair restores that.
- Widespread sagging: Sagging across more than one-third of the mesh surface signals that the spline channel or frame corners have failed.
- Discoloration and fading: Heavy UV discoloration means the mesh fibers are degraded throughout, not just at visible spots.
- Pet-inflicted tears: Small pet tears grow fast. Ignoring pet micro-tears can cause damage to increase by 200% within a single year. A small snag becomes a gaping hole by the next season.
The distinction between isolated panel damage and whole-screen failure is straightforward. One clean tear in an otherwise firm, square frame is a repair job. Multiple tears, a soft frame, faded mesh, and a loose spline together mean the screen has cycled out. Patching individual holes on a screen that is already brittle wastes time and money.
Seasonal inspections in early spring and late fall catch these issues at the right moment. Spring inspection lets you fix winter damage before insects arrive. Fall inspection lets you address storm wear before cold weather sets in. Property managers overseeing multiple units benefit most from a documented inspection schedule because it prevents one neglected screen from becoming ten.
What maintenance routines can extend the window screen replacement cycle?
Proactive maintenance is the most cost-effective tool a homeowner has. Routine care extends the life of both the mesh and the surrounding frame, which means fewer full replacements over the life of the home.
Follow this maintenance sequence each season:
- Remove and rinse screens. Take screens out of their frames twice a year. Rinse with a garden hose to remove loose debris before scrubbing.
- Clean with mild soap. Use a soft brush and dish soap diluted in water. Avoid pressure washers, which force water into the spline channel and loosen the mesh.
- Inspect the spline. Press the spline with a fingernail. If it crumbles or pulls out easily, replace it before reinstalling the screen. A spline roller and replacement spline cost under $15 at any hardware store.
- Check frame corners. Corner connectors on aluminum frames loosen over time. Press each corner firmly. A loose corner lets the frame flex and stresses the mesh.
- Document with photos. Maintaining a photo and date record of each screen helps you track wear patterns and gives a contractor useful context when you need professional service.
Avoid patchwork repairs when a screen shows widespread brittleness or fading. Patch kits work on one clean tear in a healthy screen. They do not restore structural integrity to degraded mesh. Applying patches to a failing screen delays the inevitable and adds cost without adding life.
Pro Tip: Label each screen with a small piece of painter’s tape on the frame edge when you remove it for cleaning. Note the window location and the year you last replaced it. That simple record tells you exactly which screens are approaching the end of their cycle.
What is the typical process and timeline for replacing window screens?
The replacement process splits into two categories: re-screening an existing frame and full frame plus mesh replacement. Each has a different time requirement and skill level.
Re-screening keeps the existing frame and installs new mesh. Simple re-screening takes less than one hour per screen for a standard window. The tools required are a spline roller, replacement spline, and new mesh cut to size. This is a practical DIY project for standard rectangular windows in good condition.
Full replacement installs a new frame and mesh together. This is the right choice when the frame is warped, corroded, or the wrong size for a window that has been replaced. Ordering custom-sized screens during a window replacement prevents fit issues and sealing gaps that occur when old screens are reused on new frames.
DIY re-screening has real limits. Large or custom screens present tension challenges that beginners consistently underestimate. Patio door screens and large picture window screens require even mesh tension across a wide span. Uneven tension produces visible sagging and allows the mesh to pull away from the spline channel within one season. Professional replacement provides better mesh tension and custom sizing that DIY attempts rarely match.
For large projects, the timeline scales accordingly. Full screen replacement for large enclosures typically requires 1–3 days with professional service. Coordinating that work with a broader window upgrade is worth planning. Replacing screens at the same time as windows eliminates a second service visit and ensures every component fits correctly from day one.
When you are deciding between fixing and replacing, understanding window repair vs. replacement costs helps you weigh the options clearly before committing to either path.
Key takeaways
The window screen replacement cycle runs 7–25 years, and material choice combined with proactive maintenance determines where your screens land in that range.
| Point | Details |
|---|---|
| Material drives lifespan | Aluminum lasts 20–25 years; fiberglass lasts 8–15 years; choose based on climate exposure. |
| Pet damage accelerates failure | Untreated pet tears can grow 200% in one year; address them immediately or replace the screen. |
| Maintenance extends the cycle | Twice-yearly cleaning, spline checks, and photo documentation delay costly replacements. |
| DIY has limits | Large and custom screens require professional tension control; DIY on these often fails within one season. |
| Replace all at once when aging is widespread | Replacing screens together avoids patchwork appearance and reduces repeat service calls. |
Why I always recommend replacing all screens at the same time
Most homeowners replace screens one at a time as they fail. That approach feels economical, but it creates a visible patchwork effect across the facade of the house. A new bright screen next to a faded gray one looks worse than both being old. Replacing all screens at once when aging is widespread eliminates that problem and reduces the number of service visits you pay for over time.
The material decision is where I see homeowners leave the most money on the table. Fiberglass is cheaper upfront, but in a climate like Kansas City’s, with strong UV exposure from may through september and regular storm seasons, aluminum pays for itself within the first replacement cycle. You buy aluminum once and you are done for two decades. You buy fiberglass and you are back to the same decision in eight years.
DIY re-screening is genuinely satisfying on a standard window, and I encourage homeowners to try it. The spline roller technique takes about 20 minutes to learn. But I have seen too many patio door screens done at home that sag within six months because the mesh tension was uneven. For anything wider than 36 inches, the professional result is worth the cost. The mesh tension on a large screen is not something you can eyeball successfully on the first attempt.
The other habit I push hard is documentation. Take a photo of each screen when you install it, note the material and date, and keep that record somewhere you will actually find it. When a contractor comes out three years later, that record tells them immediately whether they are looking at installation wear or material failure. It changes the diagnosis and often saves you money.
— Artem
Professional window screen services in Kansas City
Replacing screens sounds simple until you are standing in front of a large patio enclosure or a custom-shaped window that needs a precise fit. Star-ws handles the full range of screen and window replacement work for homeowners and property managers across the Kansas City area, from single re-screens to complete window overhauls.

Star-ws brings professional mesh tension, accurate custom sizing, and material expertise to every project. The team coordinates screen replacement with broader window work so you avoid multiple service visits. For complex or large-scale projects, professional window replacement services from Star-ws deliver the fit and finish that DIY attempts on large screens consistently miss. If frame issues are driving your replacement decision, the window frame rot repair service addresses the root problem before new screens go in. Contact Star-ws for a free estimate.
FAQ
What is the average window screen lifespan?
Fiberglass screens last 8–15 years in moderate climates, aluminum screens last 20–25 years, and pet-resistant mesh lasts 12–18 years. Harsh environments reduce those figures by roughly one-third.
How often should window screens be replaced?
Most homeowners replace fiberglass screens every 10–12 years with proper maintenance. Aluminum screens can go 20 or more years before replacement is necessary.
Can you repair a window screen instead of replacing it?
Repair works for one clean tear on an otherwise sound frame. Replace the screen when the frame is warped, the mesh is brittle, or damage appears across multiple areas.
Is DIY re-screening a good option for homeowners?
DIY re-screening is practical for standard rectangular windows under 36 inches wide. Large or custom screens require even mesh tension that is difficult to achieve without professional tools and experience.
When is the best time of year to replace window screens?
Early spring is the best time. Replacing screens before insect season begins lets you address winter damage and have full protection in place before temperatures rise.