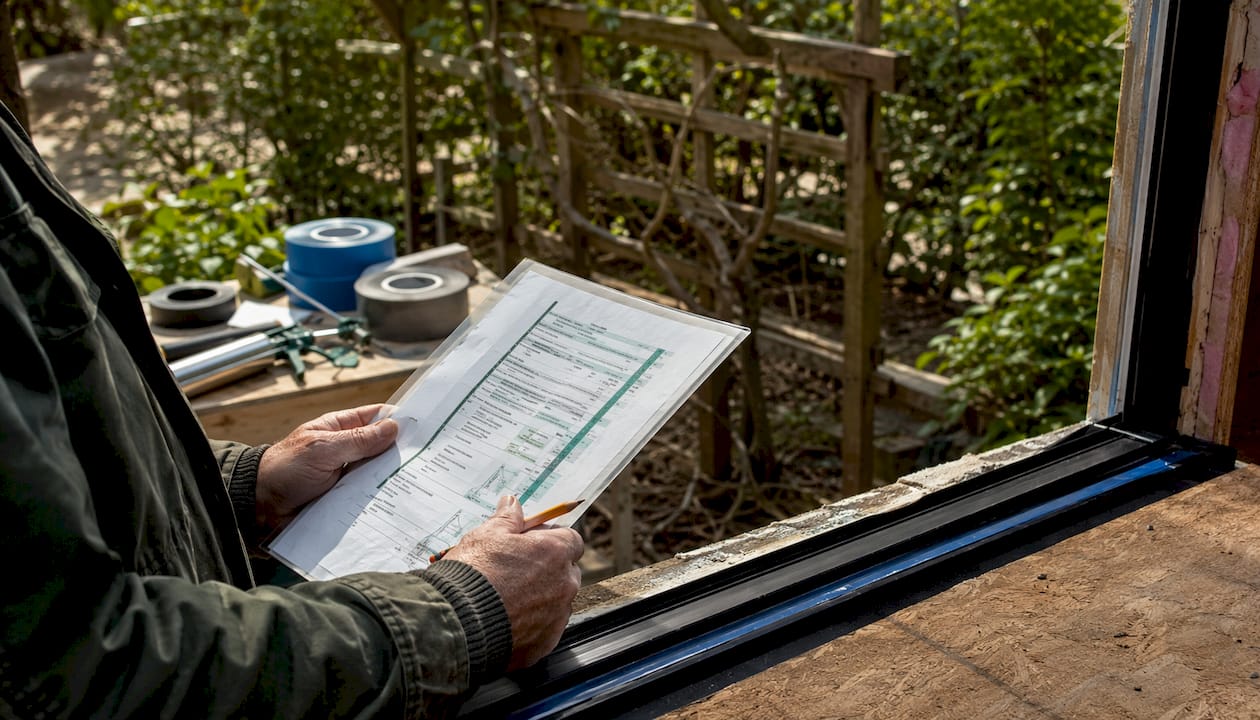
Poor water management, inaccurate measurements, and ignored manufacturer instructions are the most frequent and expensive window installation mistakes homeowners and property managers encounter. Getting any one of these wrong can void your warranty, invite water damage, and turn a new window into a liability within a single heating season. Here is what to watch for before, during, and after installation:
- Improper flashing and water management (reverse laps, missing head flashing, taped bottom flanges)
- Incorrect measurements causing gaps, rattling sashes, or frames that won’t sit flush
- Ignoring manufacturer installation guidelines, which voids warranties and creates compliance risk
- Over-reliance on caulk instead of a proper drainage system
- Poor shimming, misalignment, or insufficient fasteners
- Using high-expansion foam that distorts frames and binds sashes
- Skipping insulation around the frame perimeter
- Failing to allow expansion gaps for thermal movement
- Neglecting local building codes for egress, tempered glass, or energy standards
Each of these errors compounds the others. A window installed with perfect flashing but wrong-size fasteners still fails.
Common window installation mistakes explained in detail
Understanding exactly how each error happens makes it far easier to catch one in progress or recognize it after the fact.
-
Improper water management: The leading cause of installation failure is incorrect flashing integration with the weather-resistive barrier (WRB). The classic error is the reverse lap: bottom flange tape applied over the flange instead of under it, which blocks built-in drainage channels and traps water inside the wall. Flashing must always follow a shingle-lap sequence, starting at the sill, then the jambs, then the head, so gravity always works in your favor. Missing head flashing is equally common and leaves the most exposed part of the window with no protection at all.
-
Measurement errors: Even a quarter-inch miscalculation causes rattling sashes and frames that refuse to sit flush. Older openings are rarely square or uniform, so measuring width at three points (top, middle, bottom) and height on both sides is the minimum standard. Ordering to nominal dimensions without site measurement almost always produces a poor fit. A guide on measuring for replacement walks through the exact process if you are doing this yourself.
-
Ignoring manufacturer instructions: Every manufacturer specifies fastener type, spacing, expansion gap size (typically 1/4" to 1/2"), and flashing sequence based on lab and field testing. Deviating from those specs voids the product warranty and often violates local building codes. California’s Title 24 energy requirements are one example of jurisdiction-specific rules that generic installation habits miss entirely.
-
Sealant as primary waterproofing: Sealant degrades over time and was never designed to be the main defense against water. Thick caulk beads applied after the fact often trap moisture rather than shed it, accelerating rot behind the trim. The correct approach treats sealant as a secondary line of defense, with proper flashing and drainage doing the heavy lifting. Critically, caulking over weep holes or the bottom flange blocks the drainage the system depends on.
-
Structural and alignment problems: Misalignment greater than 1/8 inch causes drafts, binding sashes, and hardware that won’t latch. Proper shimming at the sill, jambs, and head is what keeps a frame square after fastening. Skipping repeated operation checks during fastening is where this goes wrong: a frame that operated perfectly before the final screws went in can bind immediately after if shim pressure shifts.
-
Wrong insulation materials: High-expansion foam distorts frames, binds sashes, and creates permanent operational problems. Low-expansion foam formulated specifically for windows is the correct choice. Stuffed fiberglass batt, while common, leaves air paths that defeat the purpose of sealing the perimeter at all.
-
Improper fastening: Pneumatic nail guns crack flanges and distort frames when nail pressure is excessive. Non-corrosive pan-head screws are the standard fastener most manufacturers require. A damaged nailing flange creates gaps that no amount of flashing tape can reliably seal, and no manufacturer approves installation of a window with a cracked or bent flange.
-
No expansion gaps: PVC and aluminum frames expand and contract with temperature. A window fitted tight to the rough opening with no gap will deform under summer heat or winter cold. The standard gap is 1/4" to 1/2" on all sides, filled with low-expansion foam, not packed solid with shims.
-
Neglecting insulation around the frame: An unsealed frame perimeter allows conditioned air to bypass the glass unit entirely. New low-E double-pane glass performs no better than old single-pane when heat loss is occurring at the frame edge rather than through the glass itself.
-
Building code non-compliance: Egress requirements for basement bedrooms, tempered glass in hazardous locations, and local energy standards are not optional. Skipping permits invites stop-work orders and forces costly corrections after the fact.
How to spot a bad installation before it gets worse
Poor installation typically reveals itself within the first heating or cooling season, when thermal stress exposes gaps and seal failures that calm weather hid. Catching these signs early prevents the kind of rot and mold remediation that turns a window problem into a wall problem.
- Visible frame-to-wall gaps: Any gap at the junction between the window frame and the surrounding wall means the frame was not correctly fitted to the rough opening. Air and moisture pass freely through these gaps regardless of glass quality.
- Drafts near the frame: Drafts come from the rough opening perimeter, not the glass. If you feel air movement near the trim on a calm day, the frame gap was not properly packed and sealed.
- Water stains at the sill or frame edges: Staining at the inner sill, damp plaster at frame edges, or swelling interior trim all point to failed or missing flashing. Early moisture damage repair costs far less than letting it reach the wall framing.
- Binding or sticking sashes: A sash that won’t travel smoothly after installation indicates the frame is out of square. This is a frame alignment problem, not a hardware problem.
- Foggy interior glass: Condensation on the room-side surface of a new double-pane window points to either an inadequate thermal specification or a cold bridge created by a poorly sealed frame edge.
- Messy or excessive caulking: Thick, uneven caulk lines, especially over weep holes or drainage slots, are a sign the installer used sealant to compensate for flashing errors rather than fix them. Common window problems like these are almost always installation-related, not product defects.
- Rising energy bills after new windows: If heating or cooling costs went up after a window replacement, the frame perimeter seal is almost certainly incomplete.
How to verify your window installation was done right
Verification is not a one-time check at the end. The most reliable quality assurance happens in stages, before interior finishes cover the evidence.
- Check level, plumb, and square at the frame: Use a 4-foot level on the sill, jambs, and head before fastening is complete. Diagonal measurements of the frame should match within 1/8 inch.
- Confirm the flashing sequence: Bottom sill flashing goes in first, jamb tapes overlap the sill tape, and head flashing laps over the jamb tapes. Any deviation from this downward shingle sequence creates a leak point.
- Inspect the bottom flange: The bottom flange should remain untaped to allow drainage. Tape or sealant on the bottom flange traps water that would otherwise drain harmlessly down the wall.
- Verify expansion gaps: Run a finger along all four sides of the frame inside the rough opening. You should feel a consistent gap, not a frame pressed tight against the framing.
- Demand a hose test: Professional installers recommend running a hose on the exterior of the installed window before any interior finishes go up. This catches hidden leaks while they are still accessible and inexpensive to fix.
- Check operation before and after final fastening: Open and close every sash, engage every latch, and confirm smooth travel. Do this again after the last fastener is set. A frame that binds after fastening needs shimming adjustment, not a hardware fix.
- Review the vendor checklist: A structured installation checklist covering flashing sequence, fastener type, and code compliance gives you a concrete standard to hold installers to.
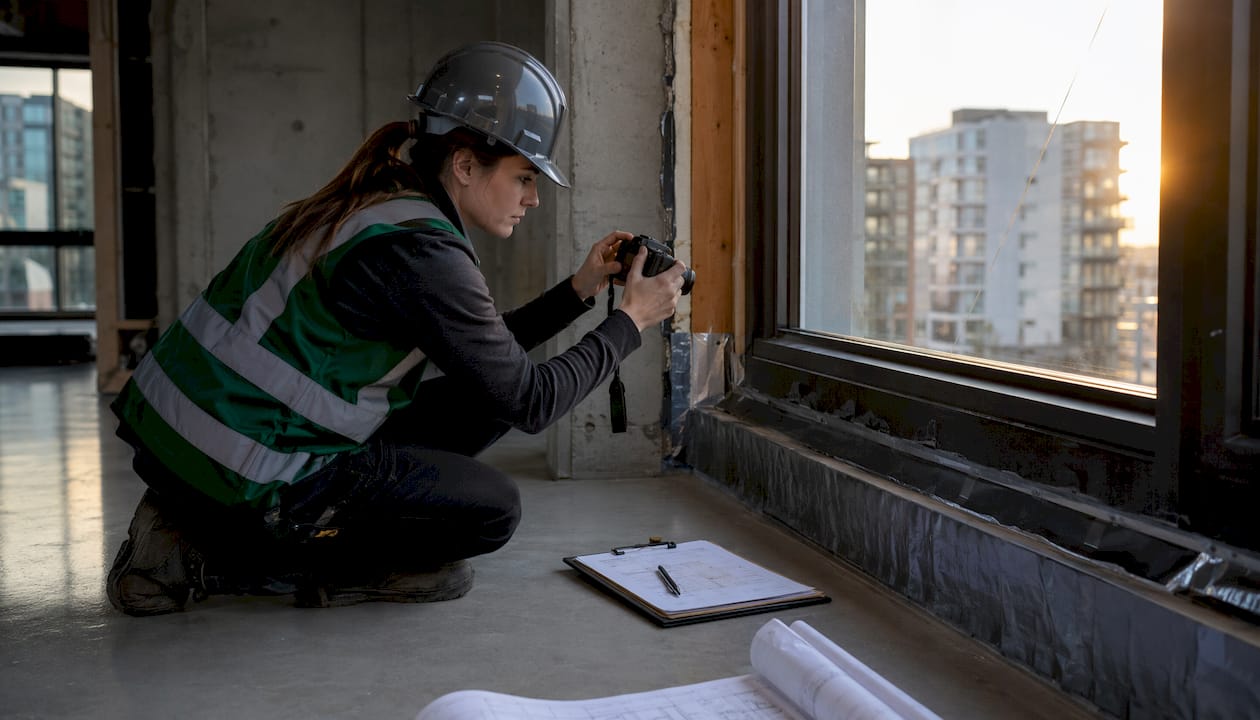
Pro Tip: Document every stage of the installation with dated photos and short video clips. Photograph the flashing sequence, the bottom flange, the shimming, and the foam application before trim covers them. Hold back 10–20% of final payment until a full walkthrough confirms the checklist is complete.
Key Takeaways
Improper water management, wrong measurements, and skipped manufacturer steps cause the vast majority of window installation failures that lead to leaks, rot, and binding sashes.
| Point | Details |
|---|---|
| Water management is the top priority | Reverse laps and missing head flashing trap water and cause rot; follow a shingle-lap sequence from sill to head. |
| Measure at multiple points | Check width at top, middle, and bottom; check height on both sides. Even a quarter-inch error causes fitting problems. |
| Sealant is not waterproofing | Caulk over weep holes or bottom flanges blocks drainage and accelerates hidden rot. |
| Test before closing up | A hose test on the exterior before interior finishes catches hidden leaks while they are still cheap to fix. |
| Misalignment over 1/8 inch causes failure | Binding sashes and drafty gaps both trace back to frames installed out of plumb or square. |
The installation detail most homeowners never think to ask about
At Star-ws, the calls that are hardest to fix are never the ones where a window broke. They are the ones where everything looked fine for two years, then a wall opened up to reveal black mold and rotted framing behind a perfectly clean interior. The window itself was often a quality product. The installation was the problem, and it was invisible until it wasn’t.
The detail that separates a durable installation from a ticking clock is integrated water management, not the window brand or the glass package. A shingle-lap flashing sequence, an untaped bottom flange, a sloped sill pan, and low-expansion foam at the perimeter: these four elements, done in the right order, handle the water that will inevitably find its way behind your cladding. Sealant alone cannot do that job, and applying more of it after a leak appears almost always makes things worse by trapping moisture that now has nowhere to go.
Star-ws approaches every Kansas City installation with a sequenced checklist: rough opening inspection before the order is placed, flashing installed bottom-to-top before the frame is fastened, operation checks before and after final fastening, and a hose test before any drywall goes up. If you are managing a property or planning a replacement and want that level of accountability built into the process, professional window replacement with a documented workmanship warranty is worth every dollar compared to the alternative.