
Glass damage documentation is defined as the systematic process of capturing, organizing, and preserving detailed evidence of broken or damaged glass to support accurate repairs and insurance claim settlements. Property managers and claims handlers who skip this process risk claim denials, underpayments, and costly repair disputes. A thorough glass damage report creates a factual record that adjusters, contractors, and courts can rely on. The industry term for this practice is “damage evidence documentation,” and it applies to both residential and commercial glass incidents.
What is glass damage documentation and why does it matter?
Glass damage documentation is the foundation of every successful insurance claim involving broken glass. Documentation gaps are a primary reason insurers dispute or underpay claims. That single fact should change how you approach every incident, from a cracked storefront window to a shattered residential pane.
The evidentiary record you build directly determines how much your insurer pays. Well-organized photo and written evidence limits an adjuster’s ability to dispute or deny a claim. Adjusters are trained to find gaps, and any gap becomes a reason to reduce the settlement.
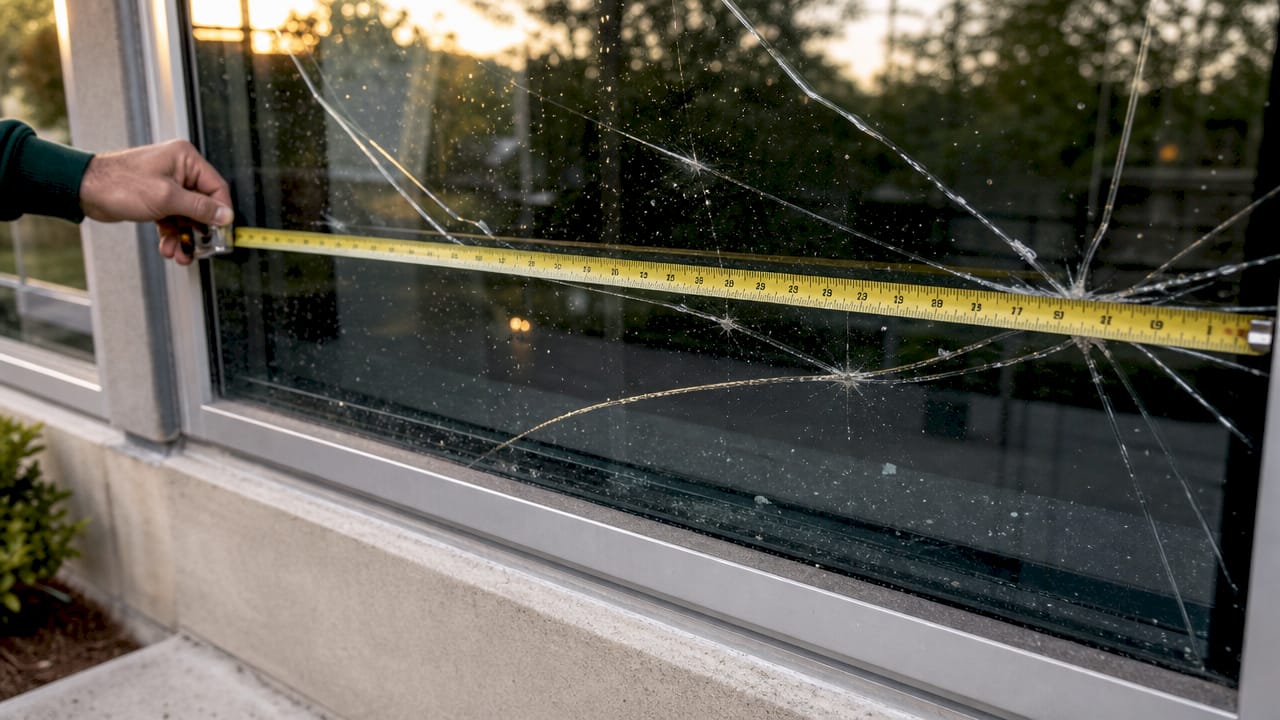
Beyond insurance, proper documentation drives repair accuracy. Photo documentation justifies line items in professional estimating software like Xactimate, which contractors use to price repairs. Without that photographic record, estimates become guesswork and disputes follow.
How do you document glass damage thoroughly?
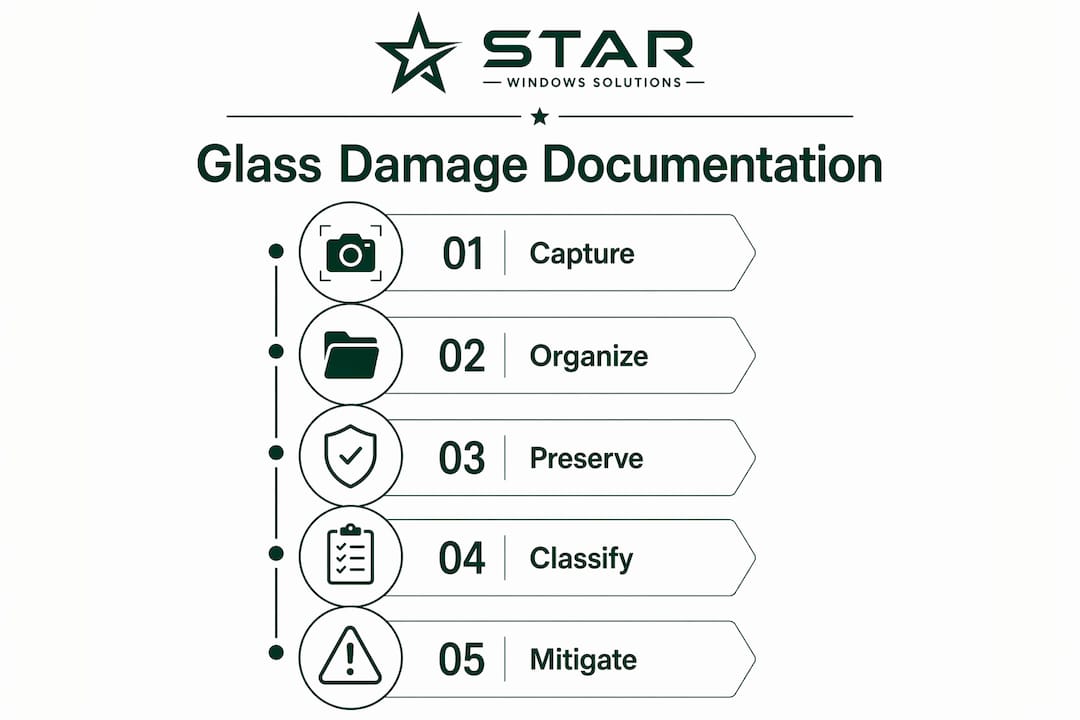
Thorough glass damage assessment follows a three-tier photographic approach. Each tier captures a different level of detail, and all three are required for a complete record.
- Wide-angle shots show the full context: the building facade, the window’s location, and surrounding conditions. These establish that the damage occurred at a specific address on a specific date.
- Medium shots frame the damaged window or door unit from roughly 6–10 feet away. They show the full extent of breakage within the frame.
- Close-up shots capture the crack pattern, impact point, and edge damage in high resolution. Always include a scale reference, such as a ruler or coin, in the frame.
A three-tiered photographic approach also includes a 20–40 second narrated video walkthrough of the damaged area. Narration matters because it adds context that photos cannot convey, such as the sound of loose glass or the depth of a crack.
Written records complete the picture. Every glass damage report should include a dated work order, an itemized damage description, and a timeline of events. Note the date and time of discovery, who discovered it, and any known cause. Label every image file with the date, location, and damage type before submitting.
Pro Tip: Name image files using a consistent format such as “2026-03-15_MainSt_Storefront_CloseUp_01.jpg.” Adjusters reviewing hundreds of files will process yours faster, and organized submissions signal professionalism.
How do industry standards classify glass damage severity?
Architectural glass condition is classified on a standardized scale from CAT-0 to CAT-5. This six-level system guides both documentation and repair decisions by giving adjusters and contractors a shared vocabulary.
| Category | Condition | Repair or Replace |
|---|---|---|
| CAT-0 | No visible damage | No action needed |
| CAT-1 | Minor surface scratches | Polishing or restoration |
| CAT-2 | Moderate scratches or chips | Restoration possible |
| CAT-3 | Deep scratches or edge damage | Evaluate case by case |
| CAT-4 | Structural compromise | Replacement required |
| CAT-5 | Non-repairable, safety hazard | Immediate replacement |
Architectural glass is categorized into six levels, CAT-0 through CAT-5, with standardized visual criteria including inspection distance and lighting. The standard inspection distance is 10 feet under natural or diffuse lighting. That distance matters because it replicates normal viewing conditions and prevents over-classification of minor surface marks.
Repairable damage means no haze, no structural compromise, and no risk to occupant safety. Anything that creates haze, weakens the pane, or exposes occupants to injury falls into replacement territory. Knowing which category applies before you submit a claim prevents disputes over scope.
Pro Tip: Photograph glass damage from exactly 10 feet away in addition to your close-up shots. This replicates the standard inspection distance and gives adjusters a reference frame that matches their own protocols.
Why does timely mitigation matter for insurance claims?
Prompt professional mitigation is not optional. Insurance carriers require a mitigation package that includes dated, itemized work orders from licensed contractors and documentation of professional temporary measures. Without it, carriers can deny the entire claim on the grounds that you failed your duty to mitigate damages.
Acceptable temporary repairs include polycarbonate sheeting and plywood boarding installed by a licensed contractor. Unacceptable measures include cardboard, tape, and plastic sheeting secured with staples. Using cardboard and tape for mitigation often leads to claim denial. That is not a technicality. It reflects the insurer’s position that you did not take the damage seriously.
The timing requirement is strict. Emergency boarding must be completed promptly, typically within 30–90 minutes of discovery for commercial properties. Delayed mitigation creates three compounding risks:
- Water intrusion: Rain entering through an unprotected opening causes secondary damage to walls, flooring, and electrical systems. Insurers may attribute that secondary damage to negligence rather than the original incident.
- Security breaches: An unboarded opening invites theft or vandalism. Any resulting loss may not be covered if the opening was left unprotected.
- Claim denial: Documented failure to mitigate gives adjusters a contractual basis to reduce or reject the claim entirely.
Prompt professional mitigation not only protects the property but supports claim validity by demonstrating your duty to mitigate. Pair your boarding documentation with before-and-after photos and the contractor’s credentials. That package removes any ambiguity about whether mitigation was performed correctly. For residential properties, Star-ws provides immediate boarding services that meet insurer requirements and prevent secondary damage.
What are the best practices for preserving glass damage evidence?
Evidence quality degrades quickly after a glass incident. Follow these steps to preserve both physical and digital evidence before it is lost.
-
Preserve the focal point. Glass breakage radiates from a single impact origin. Preserving that precise 3×3 inch area with clear packing tape is recommended for professional analysis. Place the taped fragment in a labeled envelope and store it in a safe location. The crack propagation pattern from that focal point can identify the impact origin, which directly informs liability decisions.
-
Send original image files. Avoid sending photos via text message. Sending images via text message causes compression and loss of high resolution. Email original files or share them through cloud platforms like Google Drive or Dropbox. High-resolution images are what adjusters need to validate claims and estimate repairs accurately.
-
Use cloud platforms to protect metadata. Cloud-based photo sharing preserves metadata integrity including timestamps, which proves the damage chronology in claims. A timestamp embedded in the file is harder to dispute than a verbal account of when the damage occurred.
-
Export security footage immediately. Most DVR systems overwrite recordings automatically. Security footage must be saved promptly because most systems overwrite within 7–14 days. For subrogation or liability claims, that footage may be the only objective record of how the damage occurred. Contact your security vendor the same day and request a copy in a standard format.
-
Compile a single submission package. Organize photos by tier, attach the written damage report, include the mitigation work order, and add the contractor’s license number. A single, complete package reduces back-and-forth with adjusters and accelerates settlement. For commercial properties, Star-ws documents commercial glass replacements with the detail insurers expect.
Key Takeaways
Thorough glass damage documentation, built on tiered photography, standardized damage classification, and prompt mitigation records, is the single most effective way to protect a claim from denial or underpayment.
| Point | Details |
|---|---|
| Three-tier photography | Capture wide-angle, medium, and close-up shots with scale references for every incident. |
| CAT-0 to CAT-5 classification | Use the six-level architectural glass scale to align your report with adjuster protocols. |
| Timely professional mitigation | Board openings within 30–90 minutes using licensed contractors and document every step. |
| Preserve the focal point | Tape the 3×3 inch impact origin and store it in a labeled envelope for liability analysis. |
| Submit original digital files | Email or use cloud platforms to maintain image resolution and metadata timestamps. |
The detail that most people miss
After years of watching glass claims get disputed, the pattern is always the same. The property manager took photos. The contractor did the work. But the submission was a folder of unlabeled JPEGs and a verbal summary. That is enough to give an adjuster room to work with.
The part most people miss is the connection between physical evidence and digital records. You can have perfect photos and still lose ground if the focal point fragment was swept up before anyone thought to preserve it. That 3×3 inch piece of glass tells a story about cause and liability that no photo can fully replace. I have seen claims where that single fragment shifted a dispute from “act of vandalism” to “manufacturing defect,” which changed the entire coverage picture.
The other thing I would push back on is the assumption that mitigation documentation is just paperwork. Insurers treat it as proof of intent. A dated work order from a licensed contractor, with before-and-after photos attached, signals that you took the incident seriously from the first hour. Cardboard over a broken window signals the opposite, and adjusters notice.
My practical advice: build a glass incident kit before you need it. Include a measuring tape, a roll of clear packing tape, a set of labeled envelopes, and a checklist that walks through every documentation step. When glass breaks at 11 p.m., you will not be searching for the right process. You will already be executing it.
— Artem
Glass repair and documentation support from Star-ws
Property managers and claims handlers in the Kansas City area need a contractor who understands both the repair and the paperwork. Star-ws provides professional glass replacement for residential and commercial properties, with documentation that meets insurer requirements from the first call.
Star-ws handles window glass replacement with the detail that supports clean claim submissions, including itemized work orders, contractor credentials, and before-and-after photos. For storefronts and commercial buildings, the commercial glass replacement service covers emergency boarding, full replacement, and the mitigation package your insurer will ask for. Contact Star-ws for a free estimate and documentation consultation.
FAQ
What is glass damage documentation?
Glass damage documentation is the process of capturing, organizing, and preserving photographic, written, and physical evidence of broken or damaged glass to support insurance claims and repair authorization.
What photos are required for a glass damage report?
A complete glass damage report requires wide-angle context shots, medium shots of the damaged unit, and high-resolution close-ups with a scale reference, plus a short narrated video walkthrough.
How soon must mitigation be completed after glass breakage?
Insurance carriers typically require emergency boarding within 30–90 minutes of discovery for commercial properties, performed by a licensed contractor with a dated, itemized work order.
Why does the focal point of glass breakage matter?
The focal point is the origin of the crack pattern. Preserving the 3×3 inch impact area with clear packing tape allows professionals to determine the cause and supports liability resolution.
How should I send glass damage photos to my insurer?
Send original image files by email or cloud platform. Texting photos compresses them and destroys the resolution adjusters need to validate your claim and estimate repairs accurately.