
Window frame anchoring is defined as the mechanical process of securing a window unit to a building’s structural substrate so it can safely transfer loads and maintain long-term integrity. This process is the foundation of every successful window installation, whether residential or commercial. Without proper anchoring, frames shift, distort, and fail under wind pressure, gravity, and thermal stress. Industry standards from ASCE 7, AAMA, and NFPA 80 all treat frame anchoring as a primary structural requirement, not an afterthought. Understanding the role of window frame anchoring helps contractors and homeowners make better decisions about installation quality, code compliance, and long-term performance.
What is the role of window frame anchoring in load transfer?
Window frame anchoring acts as the critical mechanical bridge transferring gravity and lateral loads from the fenestration to the building’s structural substrate. That means every pound of glass weight and every gust of wind pressure passes through the anchors before reaching the wall framing. When anchors are placed correctly, the frame stays rigid and the loads distribute evenly. When they are not, the frame absorbs stress it was never designed to handle.
ASCE 7 standards account for wind pressure up to 50 psf in high-wind zones. That level of force on an improperly anchored frame will cause visible distortion within months. Gravity loads from the window unit itself add a constant downward pull that compounds the problem over time.
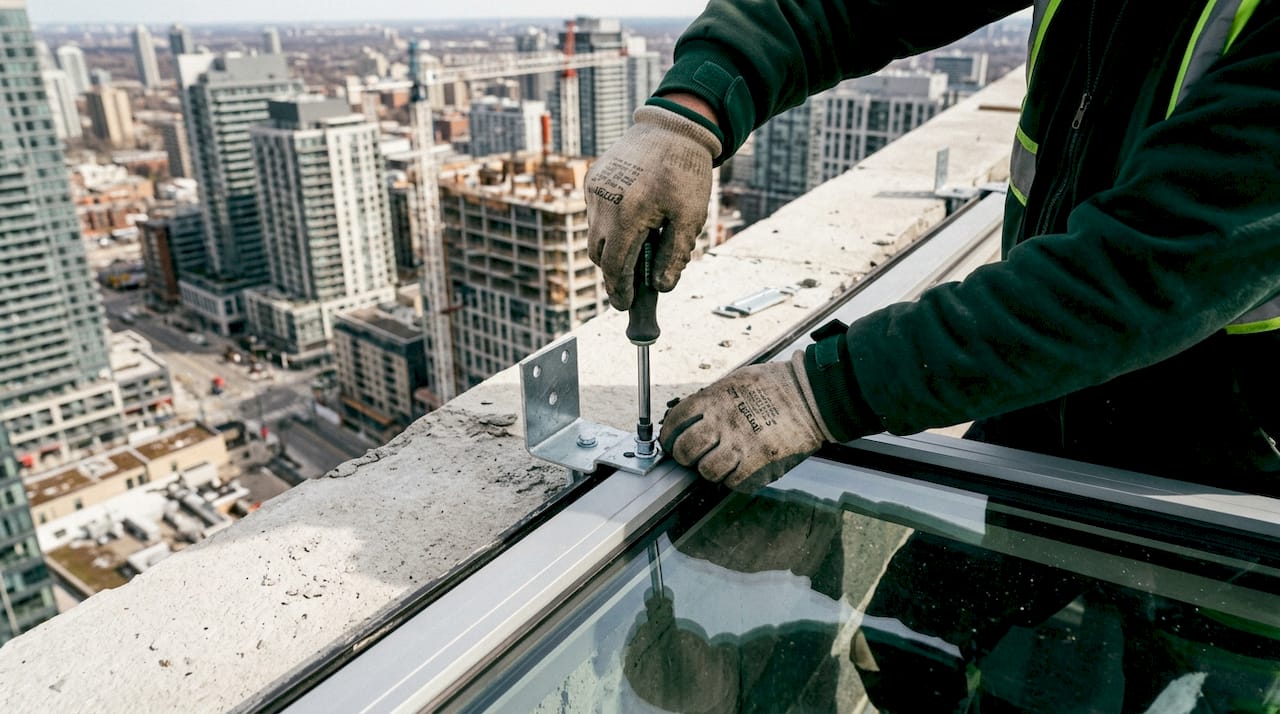
The consequences of poor anchoring are concrete and costly. Frame distortion breaks the seal between sash and frame, allowing air and water infiltration. Water infiltration leads to wood rot, mold, and structural damage in the surrounding wall assembly. A frame that shifts even a fraction of an inch can make a window impossible to open or close properly.
Pro Tip: Before you evaluate any window problem, check the anchoring first. Operational failures like sticking sashes and drafty seals are often anchoring failures in disguise.
How are window frames anchored: spacing, placement, and fastening
Standard residential window fastener spacing runs 6 to 8 inches on center, with anchors placed at corners before intermediate fasteners are added. Corner placement comes first because corners carry the highest concentration of racking stress. Skipping corner anchors and spacing fasteners evenly is one of the most common field errors.
Commercial frames follow stricter rules. A 7-foot commercial frame requires at least three anchors per jamb, with additional anchors near the head and sill. The load demands on commercial openings are higher, and the frames are heavier, so the anchor count reflects that reality.
Fastener type matters as much as placement. Galvanized or stainless steel screws resist corrosion in exterior wall assemblies. Torque management is critical: driving screws too tight crushes the frame flange and creates stress concentrations. The correct approach is to snug fasteners finger-tight first, then bring them to final torque only after the frame is confirmed plumb, level, and square.
The installation sequence is not flexible. Anchoring before alignment locks in any error permanently. Achieving perfect frame alignment before tightening anchors is the most critical phase of the entire installation. Adjustments after full tightening risk cracking flanges and stripping fastener holes.
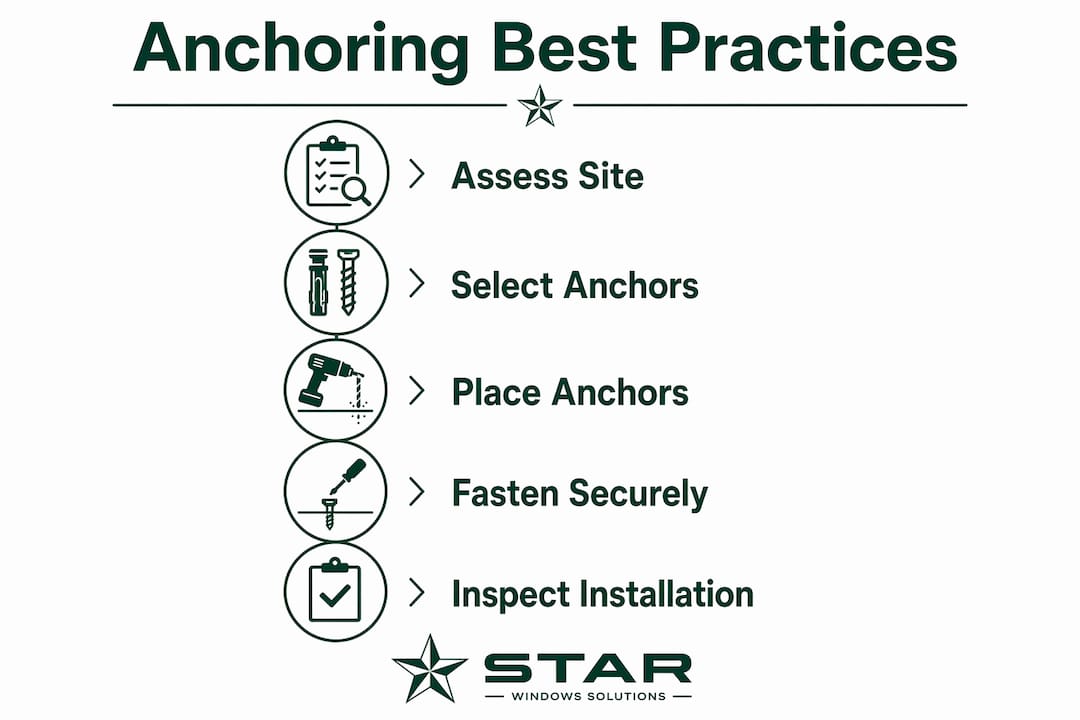
The correct sequence for anchoring a window frame:
- Set the frame in the rough opening on shims at the sill.
- Check plumb on both jambs with a 4-foot level.
- Check level across the head.
- Measure diagonals to confirm square.
- Drive corner anchors to snug, not final torque.
- Recheck plumb, level, and square after corner anchors.
- Install intermediate fasteners from corners outward.
- Bring all fasteners to final torque in the same sequence.
- Verify operation of sash before sealing.
What are the anchoring requirements for fire-rated and vinyl frames?
Fire-rated assemblies carry anchoring requirements that go beyond structural performance. Proper anchoring is mandatory for tested fire resistance ratings ranging from 20 to 180 minutes per NFPA 80. Using the wrong anchor type or spacing voids the tested rating entirely, even if the frame itself is code-compliant. That is a liability issue for any contractor working on commercial or institutional projects.
Anchor placement in fire-rated frames must address three specific zones:
- Hinge jamb: Anchors here carry the weight of the door or sash leaf and prevent sagging over time.
- Strike jamb: Anchoring on the strike jamb controls latching alignment and prevents the leaf from drifting out of the frame plane.
- Head: Head anchors resist the upward pressure from fire events and prevent frame spread.
Treating fire door anchorage as a coordinated load-bearing assembly, rather than a minor detail, is the only approach that preserves door stability and operational reliability under fire conditions.
Vinyl and PVC frames present a different set of challenges. PVC-based vinyl frames require galvanized steel or fiberglass reinforcements to compensate for the material’s inherent flexibility. Thermal cycling causes vinyl to expand and contract significantly across seasons. Anchors that are too rigid or spaced too tightly prevent that movement, creating internal stress that bows the frame outward.
Installers working with vinyl frames and thermal expansion must leave deliberate clearance at anchor points and use fasteners that allow slight longitudinal movement. Shimming at the sill and jambs distributes the frame load without creating fixed stress points.
Pro Tip: Always identify the frame material before selecting anchors. A fastener schedule that works perfectly for aluminum will cause long-term bowing in vinyl.
What are the most common window anchoring mistakes?
Over-fastening screws in vinyl frames creates fixed stress points that prevent natural expansion and contraction, leading to long-term warping and performance issues. This is the single most common installation error in residential vinyl window work. The damage is not always visible immediately. Warping shows up months later, after the first full thermal cycle.
The most frequent anchoring mistakes that lead to frame failure:
- Over-tightening fasteners in vinyl: Locks the frame against thermal movement and causes bowing.
- Under-shimming at the sill: Allows the frame to rack under its own weight before anchors are set.
- Skipping corner anchors: Leaves the highest-stress zones unsupported.
- Using high-expansion foam: High-expansion polyurethane foam is typically prohibited around window frames because its expanding pressure distorts the frame and degrades weather stripping compression.
- Anchoring before alignment: Locks errors into the frame permanently.
The 2026 “Nickel Test” is a practical field diagnostic for detecting frame deflection. If a nickel fits between the locked sash and the frame, the compression seal has failed. That gap indicates loss of structural rigidity at the frame, which points directly to an anchoring or shimming deficiency.
Pro Tip: Run the Nickel Test on any window that shows drafts or condensation on the interior glass edge. It takes ten seconds and tells you whether the problem is the seal or the frame.
Best practices for long-term window frame stability
Long-term window frame stability depends on following a disciplined anchoring workflow aligned with AAMA 2400 standards. The standard covers anchor placement, fastener type, and the sequence of operations that protect frame geometry from the first screw to the final seal. Contractors who skip steps in this sequence consistently produce callbacks.
The anchoring workflow that produces durable results:
- Confirm rough opening dimensions match the window unit within tolerance before the unit arrives on site.
- Install a continuous sill pan flashing before setting the frame.
- Set the frame on sill shims and adjust for level before touching the jambs.
- Plumb both jambs independently, then check diagonal measurements for square.
- Drive corner anchors to snug torque and recheck all three dimensions.
- Install intermediate anchors following the load path, not installer convenience.
- Apply low-expansion foam in the gap between frame and rough opening after anchors are set.
- Install the weather-resistive barrier (WRB) laps over the flashing in the correct shingle order.
- Seal all penetrations with compatible sealant before finishing the exterior.
Anchor placement should follow load paths. That means anchors go where the frame transfers force to the structure, not where the installer can most easily reach. On a standard double-hung window, the primary load path runs through the sill and the lower jamb corners. Placing anchors there first produces a stable base for the rest of the installation.
For broken or distorted vertical window units, achieving plumb and square positioning before anchor installation is especially critical because tall frames amplify any alignment error across their full height.
Pro Tip: Use low-expansion foam rated for window and door applications. Standard gap-filling foam expands with enough force to bow a vinyl frame inward, binding the sash and voiding the manufacturer’s warranty.
Key Takeaways
Proper window frame anchoring is the single most important factor in window installation quality, determining structural performance, energy efficiency, and code compliance for the life of the unit.
| Point | Details |
|---|---|
| Anchoring transfers structural loads | Anchors carry wind pressure up to 50 psf and gravity loads from the frame to the building substrate. |
| Alignment before tightening is non-negotiable | Confirm plumb, level, and square before driving anchors to final torque or errors become permanent. |
| Fire-rated frames require specific anchor placement | NFPA 80 mandates correct anchoring at hinge jamb, strike jamb, and head to preserve fire ratings of 20–180 minutes. |
| Vinyl frames need controlled fastener torque | Over-tightening prevents thermal movement and causes long-term bowing in PVC and vinyl frames. |
| The Nickel Test detects anchoring failure | A nickel fitting between locked sash and frame signals compression seal loss and likely frame deflection. |
What field experience teaches about anchoring that manuals don’t
After years of seeing window installations from the inside out, the pattern is clear: anchoring gets treated as the last five minutes of a job, not the foundation of it. Contractors rush the sequence, skip the diagonal check, and drive screws to “tight enough.” Then they wonder why the customer calls back six months later with a sash that won’t lock.
The part that surprises most people is how little force it takes to permanently distort a vinyl frame. One over-driven screw at the wrong point in the installation sequence can bow a jamb enough to break the sash seal. That damage is invisible at final inspection and catastrophic by the following winter.
Fire-rated assemblies are where I see the most dangerous shortcuts. Installers treat the anchor schedule as optional because the frame looks solid once it is set. It is not optional. The tested rating exists because every anchor in the tested assembly was in the right place. Change the anchor count or location and you have an untested assembly, regardless of what the label says.
The coordination between frame, anchors, shims, and the surrounding wall is what separates a durable installation from a warranty claim. None of those elements works correctly in isolation. The frame needs the shims to distribute load. The shims need the anchors to stay in position. The anchors need the wall substrate to be solid. When one element is wrong, the whole system degrades.
— Artem
Window anchoring done right: Star-ws precision installation
Proper frame anchoring requires more than following a checklist. It requires experience reading load paths, identifying material-specific risks, and catching alignment errors before they become permanent. Star-ws brings that level of attention to every residential and commercial window project in the Kansas City area.

Whether you need commercial window replacement with code-compliant anchor schedules or window frame rot repair where anchoring integrity has already been compromised, Star-ws handles the full scope. Every installation follows AAMA 2400 standards, uses material-appropriate fasteners, and includes a final alignment check before the frame is sealed. Contact Star-ws for a free estimate and get an installation that holds up for decades.
FAQ
What does window frame anchoring actually do?
Window frame anchoring secures the window unit to the building’s structural substrate and transfers gravity and lateral loads safely into the wall framing. Without it, frames shift, distort, and allow air and water infiltration.
How far apart should window frame anchors be spaced?
Residential installations use fastener spacing of 6 to 8 inches on center, with anchors placed at corners first. Commercial frames on 7-foot openings require at least three anchors per jamb.
Does improper anchoring void a fire rating?
Incorrect anchors or spacing in fire-rated assemblies void the tested fire resistance rating per NFPA 80, even if the frame itself is compliant. The anchor schedule is part of the tested assembly.
Why do vinyl window frames bow after installation?
Vinyl frames bow when fasteners are over-tightened, creating fixed stress points that block natural thermal expansion and contraction. The damage typically appears after the first full seasonal temperature cycle.
What is the Nickel Test for windows?
The Nickel Test checks if a nickel fits between a locked sash and the frame. If it does, the compression seal has failed, indicating frame deflection likely caused by anchoring or shimming deficiencies.