
Your lockable handle, keeper/striker plate, hinge fixings, and frame anchorages are the four hardware elements that most directly determine how long a window resists forced entry. Fix those first.
Your 24–72 hour checklist:
- Lock every accessible window right now and remove keys from the locks
- Note which ground-floor, flat-roof, or pipe-adjacent windows can be reached without a ladder — those are your highest-priority targets
- Photograph existing hardware on each vulnerable window (helps when getting quotes)
- Check whether handles are lockable or just latching; non-lockable handles are the most common gap the NPSA flags
- Tug each sash: if it moves with hand pressure alone, the locking device is failing its basic job
Prioritized first actions:
- Secure lockable hardware and remove keys when not in use
- Check hinge-side fixings for looseness or short screws
- Add anti-lift blocks to any sliding sashes
- Fit restrictors on windows you leave cracked for ventilation
Ground-floor and easily accessible windows should always be locked and treated as high priority. Star-ws handles hardware inspections and retrofits across the Kansas City area if you want a professional set of eyes on the problem.
Table of Contents
- How window hardware fits into a layered defense against forced entry
- Component by component: how each part resists or fails under attack
- How materials and ratings reflect real security performance
- Why installation and frame fixings are the most common failure point
- How maintenance and occupant behavior affect hardware effectiveness
- How to prioritize upgrades, set a budget, and vet an installer
- When to call a professional for window security work
- Key Takeaways
- The mistake most homeowners make
- Star-ws offers hardware inspection, retrofits, and upgrades for window security to help you assess and improve your vulnerabilities.
How window hardware fits into a layered defense against forced entry
Window hardware does not work alone. The most useful mental model is a stack: perimeter deterrents (lighting, fencing) slow an approach; hardware and glazing resist the actual attack; structural fixings keep the whole assembly in the wall; and occupant behavior either preserves or defeats everything above it. A weakness at any layer cancels the layers above it.
Common attack methods, and which layer they exploit:
- Levering the sash — targets hinge fixings and keeper/striker engagement
- Lifting the sash out of the track — exploits missing anti-lift devices on sliding windows
- Prying the frame — attacks frame-to-reveal fixings and anchorages
- Removing glazing beading — bypasses locks entirely by extracting the glass panel
- Manipulating the latch — uses a thin tool inserted through the gap to flip a non-lockable latch
Balanced design is the governing principle: upgrading only the lock while leaving weak hinges or short frame screws gives an attacker a clear alternative route. Standards like PAS 24 and NPSA guidance exist precisely to define what “balanced” means in practice — they set minimum resistance levels across the whole assembly, not just the locking mechanism.
Component by component: how each part resists or fails under attack
The table below maps each hardware component to the attack it resists, a realistic retrofit option, and the qualitative disruption it adds.
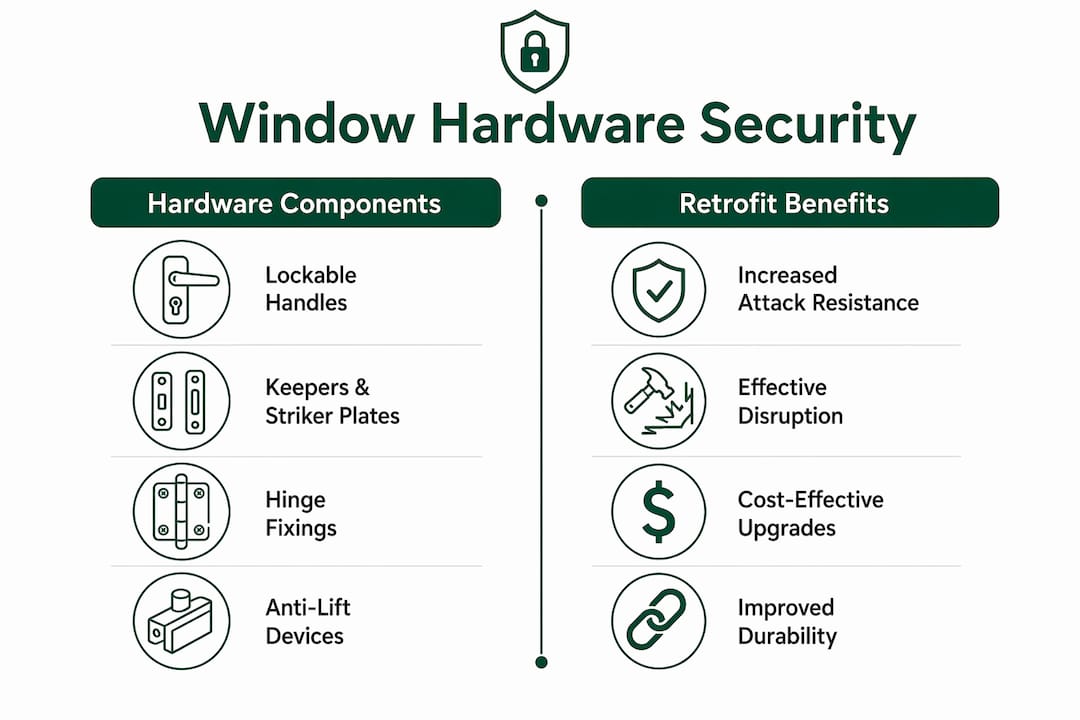
| Component | Main attack resisted | Retrofit option | Expected disruption added |
|---|---|---|---|
| Lockable handle / espagnolette | Latch manipulation, sash levering | Replace cockspur with lockable handle | High — multiple locking points engage simultaneously |
| Keeper / striker plate | Latch bypass, sash spreading | Upgrade to reinforced box striker with longer screws | Medium-high — resists spreading under load |
| Hinge fixings / hinge claws / dogbolts | Levering on hinge side | Add hinge claws or dogbolts to existing hinges | High — prevents sash removal even if lock is defeated |
| Frame fixings / anchorages | Frame levered from reveal | Replace short screws with longer fixings into studs | High — eliminates the “shear and pull” attack |
| Anti-lift devices | Sash lifted from track | Add anti-lift blocks or pins to sliding sash track | Medium-high — prevents track removal |
| Window restrictors | Opportunistic entry through open window | Fit key-operated or fixed restrictor | Medium — limits aperture width |
| Rollers / tracks | Sliding sash manipulation | Replace worn rollers; add track bar | Low-medium — reduces play in sash |
| Glazing beading fixings | Bead removal to extract glass | Replace with anti-tamper beading fixings | Medium — significantly slows glazing attack |
Lockable handles and espagnolette systems
A standard cockspur handle is operational hardware, not a security device. It can often be manipulated through gaps or flipped with a thin tool inserted between the sash and frame. Replacing it with a lockable handle — ideally one driving an espagnolette bar — creates multiple locking points along the sash edge simultaneously. That geometry forces an attacker to defeat several engagement points at once rather than one.
Keepers and striker plates
The keeper is only as strong as its fixings. A standard factory keeper held by two short screws into softwood will shear under a firm kick or lever. Upgrading to a reinforced box striker with 3-inch screws driven into the window frame’s structural timber is a low-cost, high-impact retrofit. For window hardware replacement details by window type, that resource covers the specifics.
Hinge fixings, hinge claws, and dogbolts
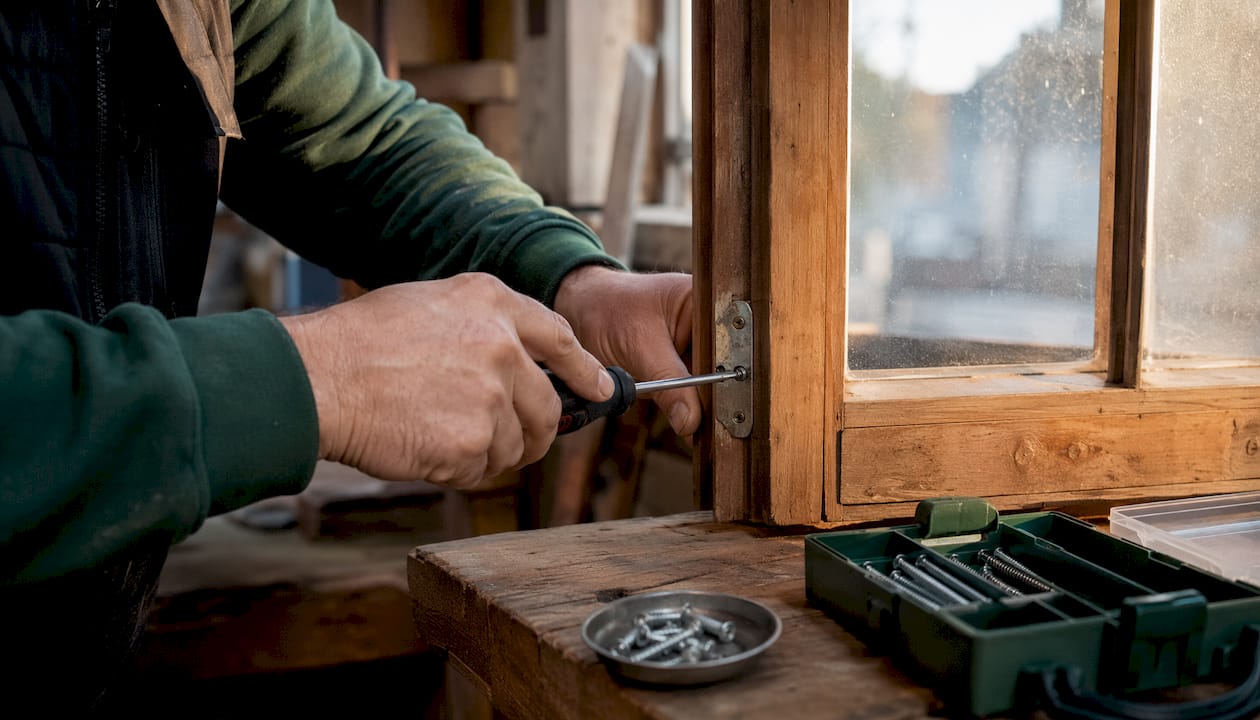
Hinge-side retrofits are among the most effective and most overlooked upgrades. Hinge claws and dogbolts engage the frame on the hinge side when the window is closed, so even if the lock is defeated, the sash cannot be levered out. The NPSA specifically identifies these as materially increasing resistance to levering attacks on casement and sash windows.
Anti-lift devices for sliding sashes
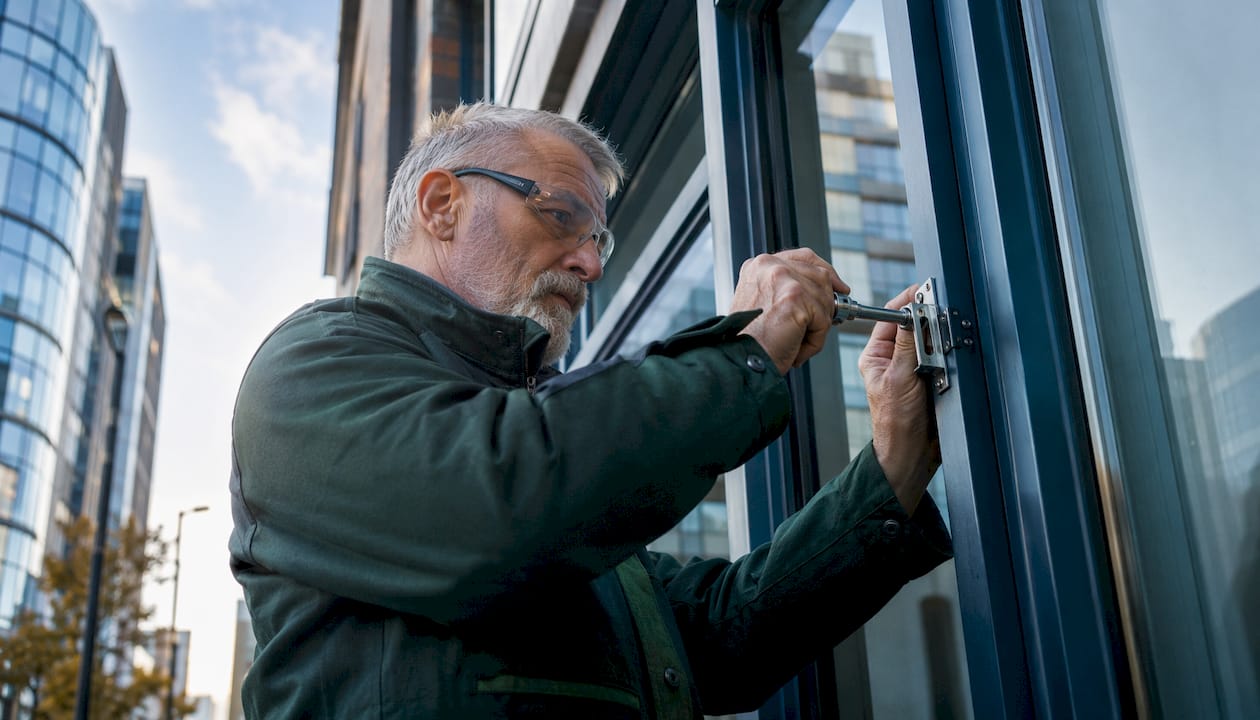
Sliding windows carry a specific vulnerability: many can be lifted out of the track even with the latch engaged. A locking hook with documented pull-out resistance plus an anti-lift block in the track addresses both the lateral and vertical removal vectors. A cut-to-fit wooden dowel in the track costs almost nothing and works reliably as a temporary measure while you arrange a proper retrofit.
Window restrictors
Restrictors limit how far a window can open, which converts a vulnerable ventilated opening into a restricted aperture that blocks most opportunistic entries. They also serve child safety. Key-operated restrictors add a second layer because they cannot be released from outside. Restrictors limit opening width and therefore block many opportunistic entries while still allowing ventilation — a practical solution for bedrooms and upper-floor windows left open overnight.
Pro Tip: When fitting restrictors, choose a model that allows quick internal release for emergency egress. A restrictor that traps occupants inside during a fire creates a different safety problem.
How materials and ratings reflect real security performance
Spec sheets and marketing copy use terms that range from genuinely meaningful to nearly useless. Here is what actually matters:
- Lockable vs. non-lockable — the single most important distinction. Non-lockable hardware is vulnerable to manipulation and should be replaced or supplemented when any reasonable security is required.
- Multi-point / espagnolette — confirms the locking bar engages at multiple points; ask specifically whether the handle itself is lockable, not just the bar.
- PAS 24 — a UK-origin standard widely referenced in the US security industry; it requires the whole window assembly (frame, sash, glazing, hardware) to pass resistance tests together, not components in isolation.
- Laminated glazing — holds fragments in the frame after impact and forces an attacker to continue striking to clear an aperture, adding delay. Laminated glass tends to remain in the frame after impact and offers higher resistance to creating an aperture than toughened glass. It is not a total solution on its own, but it is the right glazing choice when security matters.
- Tamper-resistant fixings — one-way screws or security-head fasteners that cannot be removed with a standard screwdriver.
- ASTM F588 — the US standard test method covering resistance of window assemblies to forced entry by unskilled or opportunistic attackers; ask installers whether products they supply have been tested to this standard.
Checklist of spec terms to ask for when buying or hiring:
- “Lockable cockspur” or “lockable handle” (not just “handle with key”)
- “Multi-point locking with lockable handle”
- “Anti-tamper fixings” or “security fixings”
- “Laminated inner pane” (for IGUs) or “laminated glazing”
- “Anti-lift device included” (for sliding windows)
- ASTM F588 test class, or equivalent documented pull-out/load rating
Material choice — uPVC, timber, aluminum — affects which component fails first under attack, but no material is immune. A uPVC frame with inadequate fixings fails at the anchorage; a timber frame with rot fails at the sash joint. Balanced design still applies regardless of material.
Why installation and frame fixings are the most common failure point
Good hardware installed into a weak frame is not a security upgrade. If frame fixings into the reveal are inadequate, an attacker can shear the fixings and lever the whole window unit out — the lock never gets tested. This is the most common failure mode that building standards identify, and it is almost always invisible until something goes wrong.
Common installation failure modes:
- Short screws (under 1.5 inches) into softwood or into the window frame itself rather than the structural reveal
- Single fixing points on each jamb instead of multiple distributed fixings
- Exposed hinge pins on outward-opening casements (removable from outside)
- Glazing beading installed from the outside (can be pried off to extract the glass)
- No cover plates over hinge fixings
Reinforcement steps:
- Replace short screws with 3-inch (or longer) fixings driven into structural timber in the reveal
- Add a second fixing point on each jamb, spaced at least 6 inches from the first
- Fit hinge bolt covers or anti-tamper caps over exposed hinge pins
- Refit glazing beading from the inside, or use anti-tamper beading fixings
- Inspect for frame rot before adding fixings — screws in rotted timber provide almost no resistance
Pro Tip: Short or incorrect screws are the single most common installation failure that reduces fixation strength dramatically under leverage attempts. When in doubt, pull one screw and measure it. If it is under 1.5 inches and going into softwood, replace the whole fixing set.
Installation red flags that suggest unqualified work: no site visit before quoting, vague references to “standard fixings,” no mention of screw specification or anchorage depth, and a quote that addresses only the lock without discussing the frame.
For a detailed look at common installation mistakes that create security gaps, that resource covers the most expensive errors homeowners encounter.
How maintenance and occupant behavior affect hardware effectiveness
Even the best hardware fails if keys are left in locks or windows are habitually left in the ventilation position. Police guidance is direct on this: remove keys from locks after use and use multi-point systems correctly. A window left on the first-click ventilation latch is, functionally, an unlocked window.
Quarterly maintenance schedule:
- Test every operable window for play in the sash — movement beyond a few millimeters suggests worn rollers, loose fixings, or a failing keeper
- Lubricate locking bars and hinges with a dry lubricant (avoid oil-based products on uPVC)
- Check all visible fixings for corrosion or looseness; tighten or replace as needed
- Inspect glazing seals and beading for gaps or lifting
- Verify restrictors engage and release correctly
Daily and weekly policies for homeowners:
- Remove keys from window locks before leaving a room
- Never leave ground-floor windows in the ventilation position overnight or when the property is unoccupied
- Log any forced-entry attempts or suspicious activity near windows
For property managers specifically:
- Issue written key-control instructions to tenants at move-in
- Include window hardware in annual inspection checklists
- Keep a record of hardware age and any reported failures
- Corrosion, persistent play in the sash, or fixings that spin without gripping are signals that maintenance has crossed into upgrade territory
How to prioritize upgrades, set a budget, and vet an installer
Start with what costs the least and delivers the most delay. The prioritization runs roughly like this:
Immediate low-cost fixes ($ range, under an hour each):
- Remove keys from all window locks
- Add a wooden dowel or commercial track bar to sliding windows
- Fit pin locks on double-hung windows (drill-and-pin, DIY-accessible)
- Replace any obviously short screws in keeper plates with longer fixings
Mid-range retrofits ($$ range, a few hours to a half-day):
- Replace non-lockable cockspur handles with lockable handles
- Add hinge claws or dogbolts to casement windows
- Fit key-operated restrictors on ventilated windows
- Upgrade keeper/striker plates with reinforced box strikers and 3-inch screws
Full-assembly upgrades ($$$ range, typically a full day or more, professional installation recommended):
- Replace glazing with laminated inner pane
- Full frame anchorage reinforcement with additional fixings into structural reveals
- Whole-window replacement with a PAS 24 or ASTM F588-rated assembly
- Commercial window replacement for property managers handling multi-unit or storefront upgrades
Questions to bring to an installer:
- What screw length and specification will you use for frame fixings?
- Will you check anchorage into the structural reveal, or just the window frame?
- Do the products you supply carry ASTM F588 test data or equivalent?
- Can you show me examples of previous security-focused retrofit work?
- What warranty covers both the hardware and the installation?
Red flags in quotes: no site visit before pricing, no mention of fixing specification, a quote that addresses only the visible hardware without discussing the frame or anchorage, and any installer who recommends cosmetic changes without first checking whether the frame can hold them.
When to call a professional for window security work
Call a professional when the fix involves frame fixings, structural mounting, laminated glazing, or any window with historic or complex construction. DIY pin locks and track bars are genuinely accessible. Replacing frame anchorages or glazing units is not — improper installation can leave a window that looks upgraded but fails faster than the original.
A reputable window security service follows a consistent workflow:
- Site survey — every accessible window assessed, not just the ones the homeowner flagged
- Risk assessment — vulnerable points ranked by accessibility, attack method, and current hardware condition
- Prioritized retrofit plan — written scope specifying hardware, fixing lengths, and glazing spec
- Installation — with photos before and after, and a test of every upgraded window
- Sign-off — confirmation that the assembly meets the specified standard
What to prepare before a professional visit: photographs of existing hardware on each window, a list of windows you know are problematic, any recent incidents (attempted entry, damaged hardware), and your preferred access times. That information cuts the site survey time significantly and helps the installer prioritize.
Pro Tip: Ask for the product datasheets on any hardware being installed. A reputable installer will hand these over without hesitation. If they cannot produce a datasheet, the hardware’s rated performance is unverifiable.
Frame anchoring is the technical foundation of any whole-assembly upgrade — that resource explains what correct anchorage looks like and what questions to ask your contractor.
Key Takeaways
Window hardware is only as effective as the weakest component in the assembly — locks, hinges, frame fixings, glazing, and occupant behavior must all be addressed together for genuine forced-entry resistance.
| Point | Details |
|---|---|
| Lockability is the first check | Non-lockable handles are the most common gap; replace or supplement them before any other upgrade. |
| Hinge-side fixings matter as much as locks | Hinge claws, dogbolts, and reinforced frame anchorages prevent sash removal even when the lock holds. |
| Short screws are the hidden failure point | Frame fixings under 1.5 inches into softwood shear under leverage; replace with longer fixings into structural timber. |
| Restrictors protect ventilated openings | Key-operated restrictors convert an open window into a restricted aperture, blocking most opportunistic entries. |
| Star-ws covers the full upgrade path | Star-ws provides hardware inspection, retrofit installation, and whole-assembly replacement across the Kansas City area. |
The mistake most homeowners make
The call-outs I see most often follow the same pattern: a homeowner upgraded the lock on a ground-floor casement but left the original two short screws in the keeper plate and never touched the hinge side. The lock looked new and felt solid. But the keeper pulled clean out of the frame under a firm shoulder, and the hinge side had no claws — the sash came away in under ten seconds. The lock was irrelevant.
Staged upgrades are completely reasonable. You do not need to replace every window at once. But each stage needs to address the whole assembly at that window, not just the most visible part. A new handle with the original weak keeper is not a security upgrade — it is a cosmetic change. Start with your most accessible window, do it properly (handle, keeper, hinge fixings, frame screws), and then move to the next. That approach delivers real resistance at each window rather than a false sense of security across all of them.
Star-ws offers hardware inspection, retrofits, and upgrades for window security to help you assess and improve your vulnerabilities.
The gap between a window that looks secure and one that actually resists forced entry usually comes down to three things: the right hardware, the right fixings, and installation that treats the whole assembly as a system. Star-ws brings all three to residential and commercial properties across the Kansas City area, with free estimates and financing options so the cost does not become a reason to delay.

Before a visit, pull together photos of your problem windows, note which ones are ground-floor or otherwise accessible, and flag any hardware that feels loose or worn. The team will run a full site survey, produce a written scope with fixing specifications, and walk you through a prioritized plan — from a simple hardware replacement on a single casement to a whole-assembly glass replacement upgrade with laminated glazing. For property managers handling multiple units or commercial frontages, the commercial window replacement service covers larger-scale retrofit and replacement work. Get your free estimate and know exactly where your windows stand.