
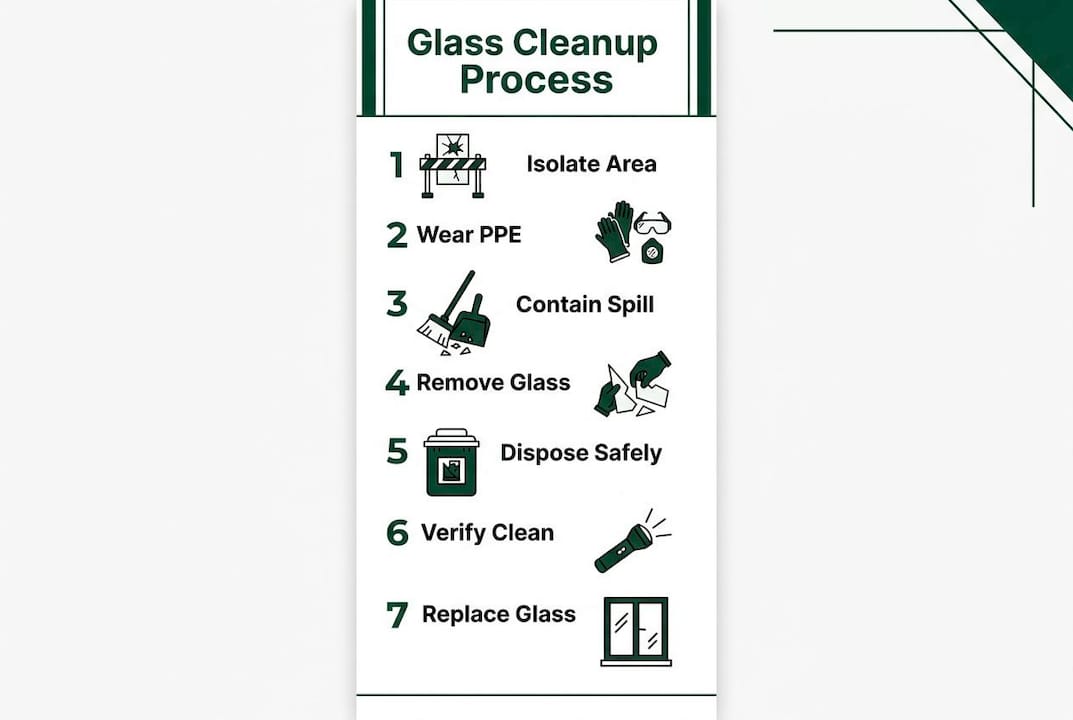
The glass hazard cleanup process is a structured sequence of steps designed to remove broken glass safely, prevent injury, and control contamination. At its core, the process moves through six stages: PPE and area security, spill containment, mechanical shard removal, residue decontamination, safe disposal, and final verification. When glass is contaminated with chemicals or biological material, each stage requires stricter controls and trained personnel.
Here is the full procedural sequence at a glance:
- Secure the area and put on PPE before touching anything
- Identify whether the glass is contaminated with chemicals or biohazards
- Contain the spill zone and restrict access
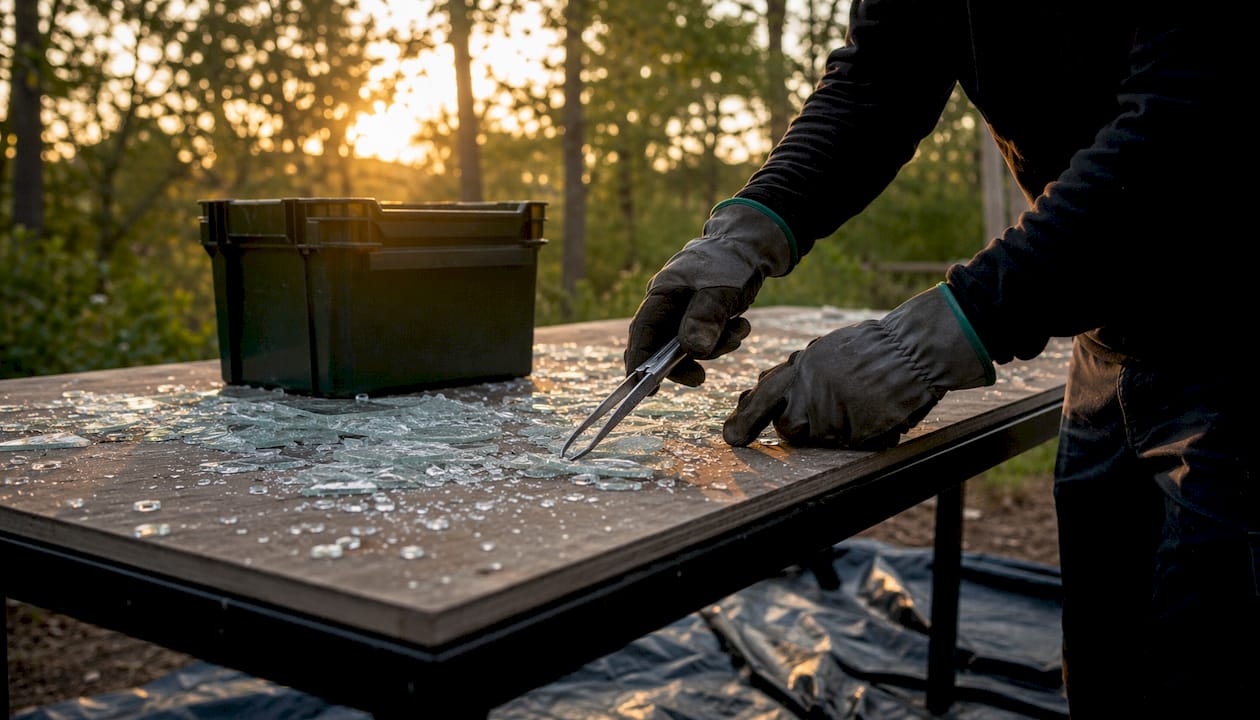
- Remove large shards with a broom and dustpan, then collect fine fragments with sticky tape or damp paper towels
- Treat any chemical or biological residue with appropriate absorbents and disinfectants
- Dispose of all glass in a puncture-proof container labeled for glass waste
- Inspect the area with a low-angle flashlight and check shoe soles before reopening
What PPE do you need before starting glass cleanup?
OSHA guidelines are direct on this: no one touches broken glass without heavy-duty cut-resistant gloves, eye protection, and closed-toed shoes. That combination covers the three most common injury vectors — lacerations, eye shards from sweeping, and foot punctures from fragments on the floor.
- Cut-resistant gloves: Standard latex or nitrile gloves offer no real protection against glass edges. Use thick, cut-resistant work gloves rated for handling sharp materials.
- Eye protection: Safety glasses with side shields, safety goggles, or a face shield, depending on the size of the spill and the risk of flying shards.
- Closed-toed shoes: Never sandals or soft footwear. Sturdy shoes with thick soles are the minimum.
- Additional PPE for contaminated glass: If the glass may carry biological or chemical hazards, add a lab coat or disposable coverall and a face shield over goggles.
Isolate the area immediately. Remove people and pets before you gear up. Post a visible warning or barrier so no one wanders in mid-cleanup.
How do you contain a glass spill before cleanup begins?
Containment stops the problem from growing. Glass fragments scatter farther than most people expect, especially on hard floors, so restricting foot traffic around the spill zone is the first physical action after PPE is on.
- Place physical barriers or caution tape around the perimeter of the spill.
- Post signage if the area is a shared or public space.
- Gather your tools before entering the zone: a stiff-bristle broom, a dustpan, sticky tape (duct tape works well), damp paper towels, a flashlight, and a labeled puncture-proof disposal container.
- Turn off any HVAC or fans that could disperse fine glass dust to adjacent areas.
Preventing further spread matters as much as the cleanup itself. Every step taken inside the zone without proper containment risks tracking shards outward.
Safe techniques for removing broken glass without touching it
Mechanical removal comes first. Sweep large shards into a dustpan using a stiff broom, working from the outer edges of the spill inward. Never use your hands, even with gloves, to pick up loose shards from the floor.
- Broom and dustpan: The right tool for fragments larger than a few millimeters. Work slowly and deliberately.
- Sticky tape or duct tape: Press a strip firmly onto the area to lift fine shards the broom misses. Fold the tape over itself and drop it directly into the disposal container.
- Damp paper towels: Effective for picking up the smallest fragments. Use once and discard immediately.
- Avoid cloths, sponges, or mops: Reusable cleaning cloths trap glass shards in their fibers and become hazards themselves. Disposable materials only.
Place all collected glass directly into a puncture-proof container as you go. Never pile shards on a surface to transfer later.
How to handle glass contaminated with chemicals or biohazards
Glass becomes a biohazard or chemical hazard the moment it contacts toxic substances, blood, or infectious material. That changes the cleanup protocol significantly.
- Stop and assess: If you suspect contamination, do not proceed without confirming the nature of the substance and verifying you have the right PPE and spill kit for it.
- Use a spill kit: Spill kits contain absorbents, disinfectants, and secondary containment materials matched to the hazard type. Chemical spills and biological spills require different kits.
- Disinfectant contact time: For biological contamination, apply an approved disinfectant and allow the full recommended contact time, typically 10–15 minutes per institutional biosafety protocols, before wiping.
- Segregate contaminated glass: Contaminated glass cannot go in a standard glass disposal box. Place it in a separate, sealable container and route it through the appropriate chemical or biological waste stream.
- Call for help when needed: Chemically contaminated glass often requires pickup by a licensed hazardous waste vendor. Contact your Environmental Health and Safety (EHS) office if you are unsure.
Trained personnel should handle any spill involving infectious agents or regulated chemicals. Attempting this without proper training creates liability and real exposure risk.
How do you verify the area is fully clear after cleanup?
A surface that looks clean can still hold microscopic glass dust and fine shards invisible to the naked eye. Verification is not optional.
- Low-angle flashlight sweep: Hold a flashlight at floor level and scan the entire area. Shards catch the light at this angle in ways overhead lighting misses.
- Check shoe soles: Glass embeds in shoe treads and travels to clean areas. Use adhesive tape on the soles of everyone who entered the zone.
- Inspect cleanup tools: Check the broom, dustpan, and any reusable equipment for embedded fragments before storing them.
- Seal and label the disposal container: Tape it shut, confirm the label is legible, and place it in the correct waste stream.
Only reopen the area once the flashlight sweep shows nothing and all tools are cleared.
Expert insights on glass cleanup mistakes that cause injuries
Rushing is the most common error in glass cleanup. Shards scatter well beyond the visible impact zone, and a fast sweep almost always leaves fragments behind.
- Do not use a standard vacuum cleaner first: Vacuum bristles trap shards and can damage the machine or eject fragments later. A shop vac is acceptable only after manual removal of all visible pieces.
- Never use reusable cloths: Fibers hold glass invisibly. Disposable paper towels and tape are the only safe options for fine fragment pickup.
- Decontaminate PPE and tools after use: Gloves, brooms, and dustpans used in a contaminated spill need proper disinfection or disposal before reuse.
- Report injuries immediately: Any cut or puncture during cleanup requires prompt first aid and an incident report. At institutions, this typically means submitting a First Report of Injury within 24 hours.
Pro Tip: Work the cleanup in a grid pattern, section by section, rather than sweeping randomly. This method prevents you from missing corners and edges where shards collect.
What training do you need for biohazard or chemical glass cleanup?
Standard glass cleanup training covers PPE selection, mechanical removal, and safe disposal. Biohazard and chemical scenarios require a higher level of preparation.
Personnel handling contaminated glass should complete bloodborne pathogen training (required under OSHA 29 CFR 1910.1030 for workplaces with biological exposure risk) and hazardous materials handling courses appropriate to the chemicals involved. Many universities and laboratories require lab safety certification before anyone works near chemical glassware. Emergency response training, including first aid and spill response protocols, rounds out the minimum competency set for high-risk environments.
Legal and regulatory considerations for hazardous glass cleanup
In the United States, glass cleanup in occupational settings falls under OSHA’s General Duty Clause, which requires employers to provide a workplace free from recognized hazards. Contaminated glass disposal is further regulated by the EPA under the Resource Conservation and Recovery Act (RCRA) when the glass carries hazardous chemical waste. Biologically contaminated glass in clinical or research settings falls under CDC and NIH biosafety guidelines, as well as state-level medical waste regulations that vary by jurisdiction.
Employers must maintain incident records, provide appropriate PPE at no cost to workers, and train staff on hazard communication standards (HazCom, 29 CFR 1910.1200). Failure to follow these requirements can result in OSHA citations and fines. For property managers handling glass incidents in residential or commercial buildings, documenting the cleanup process is a practical step toward liability protection. Star-ws has published a property manager’s guide covering glass damage documentation that addresses this directly.
Once cleanup is complete, the next step is replacing the damaged glass. Star-ws provides professional glass replacement services for residential and commercial properties across the Kansas City area, including broken vertical window replacement and full storefront glass solutions. Get a free estimate and have the opening secured by a professional the same day.

Key Takeaways
Safe, thorough glass hazard cleanup requires PPE, mechanical removal with disposable tools, proper disposal in puncture-proof containers, and a final flashlight verification before reopening the area.
| Point | Details |
|---|---|
| PPE is non-negotiable | Cut-resistant gloves, eye protection, and closed-toed shoes before any contact with broken glass. |
| Disposables beat reusables | Sticky tape and damp paper towels pick up fine shards safely; cloths and mops trap glass in fibers. |
| Contaminated glass needs a separate stream | Biohazardous or chemically contaminated glass cannot go in a standard glass disposal box. |
| Puncture-proof containers only | All glass waste goes in a labeled, sealed, puncture-proof container, never a standard trash bag. |
| Verify with a flashlight | A low-angle flashlight sweep and shoe sole check are the only reliable ways to confirm the area is clear. |